Christmas Swirl Cookies

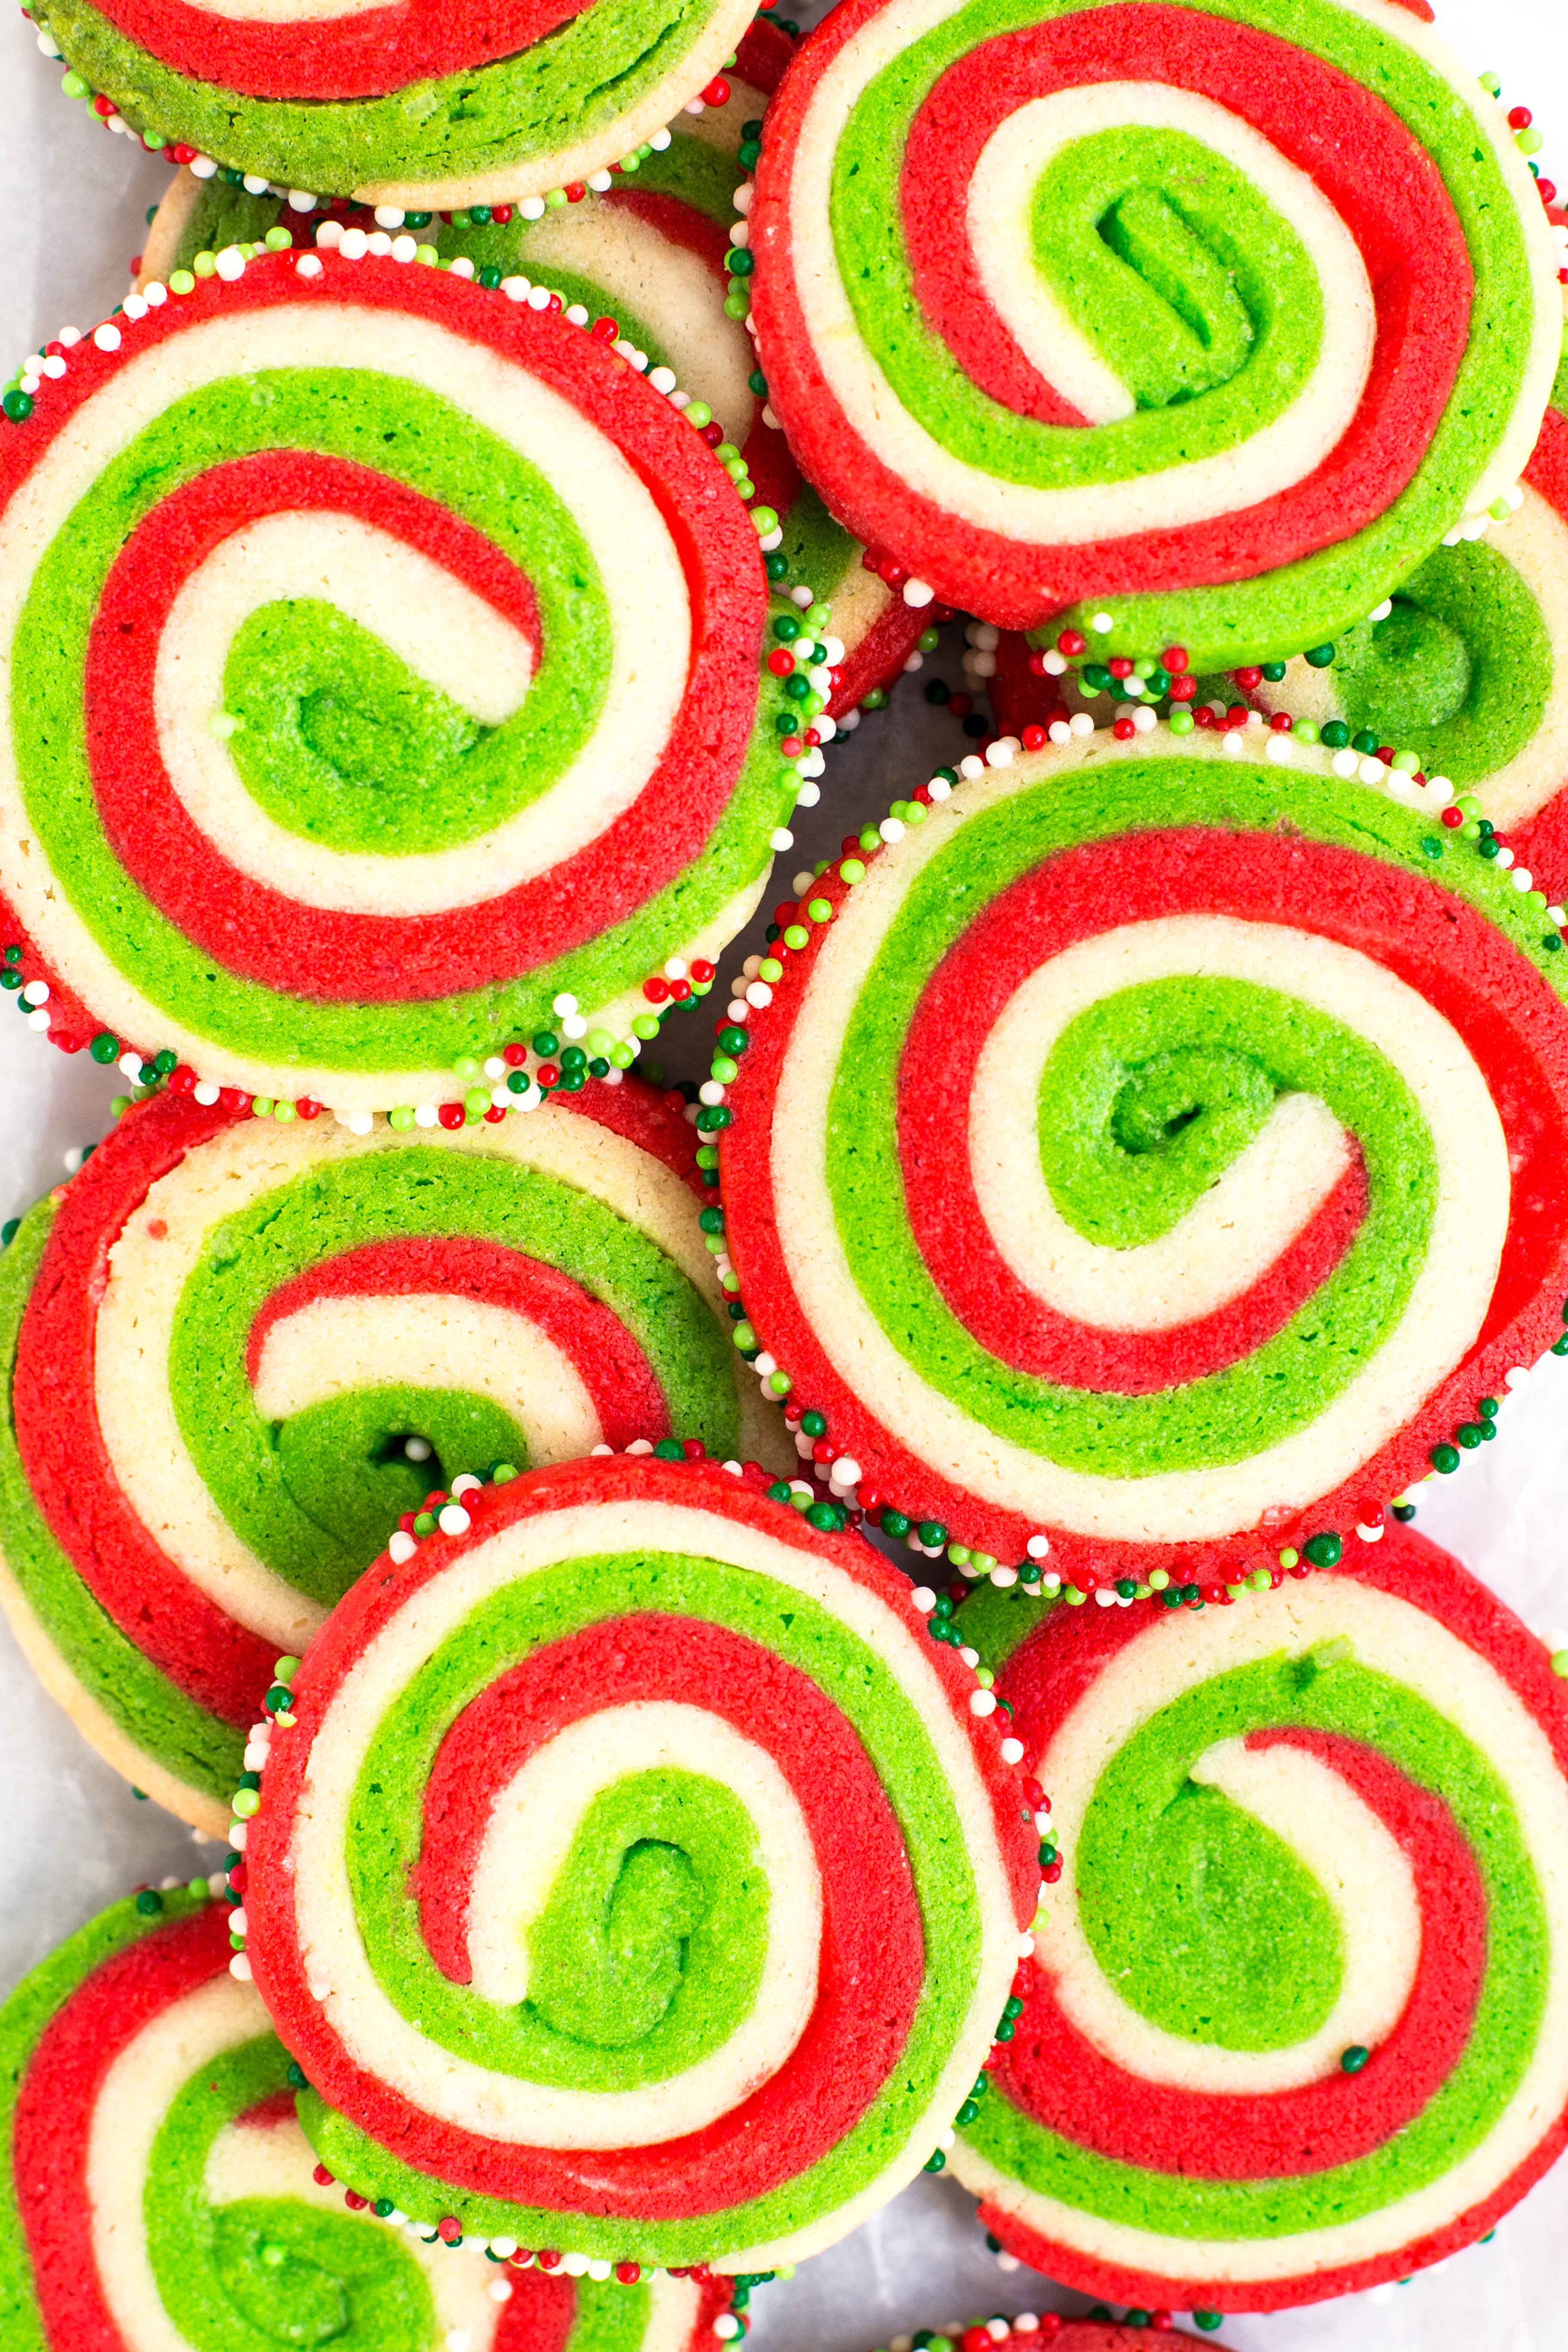
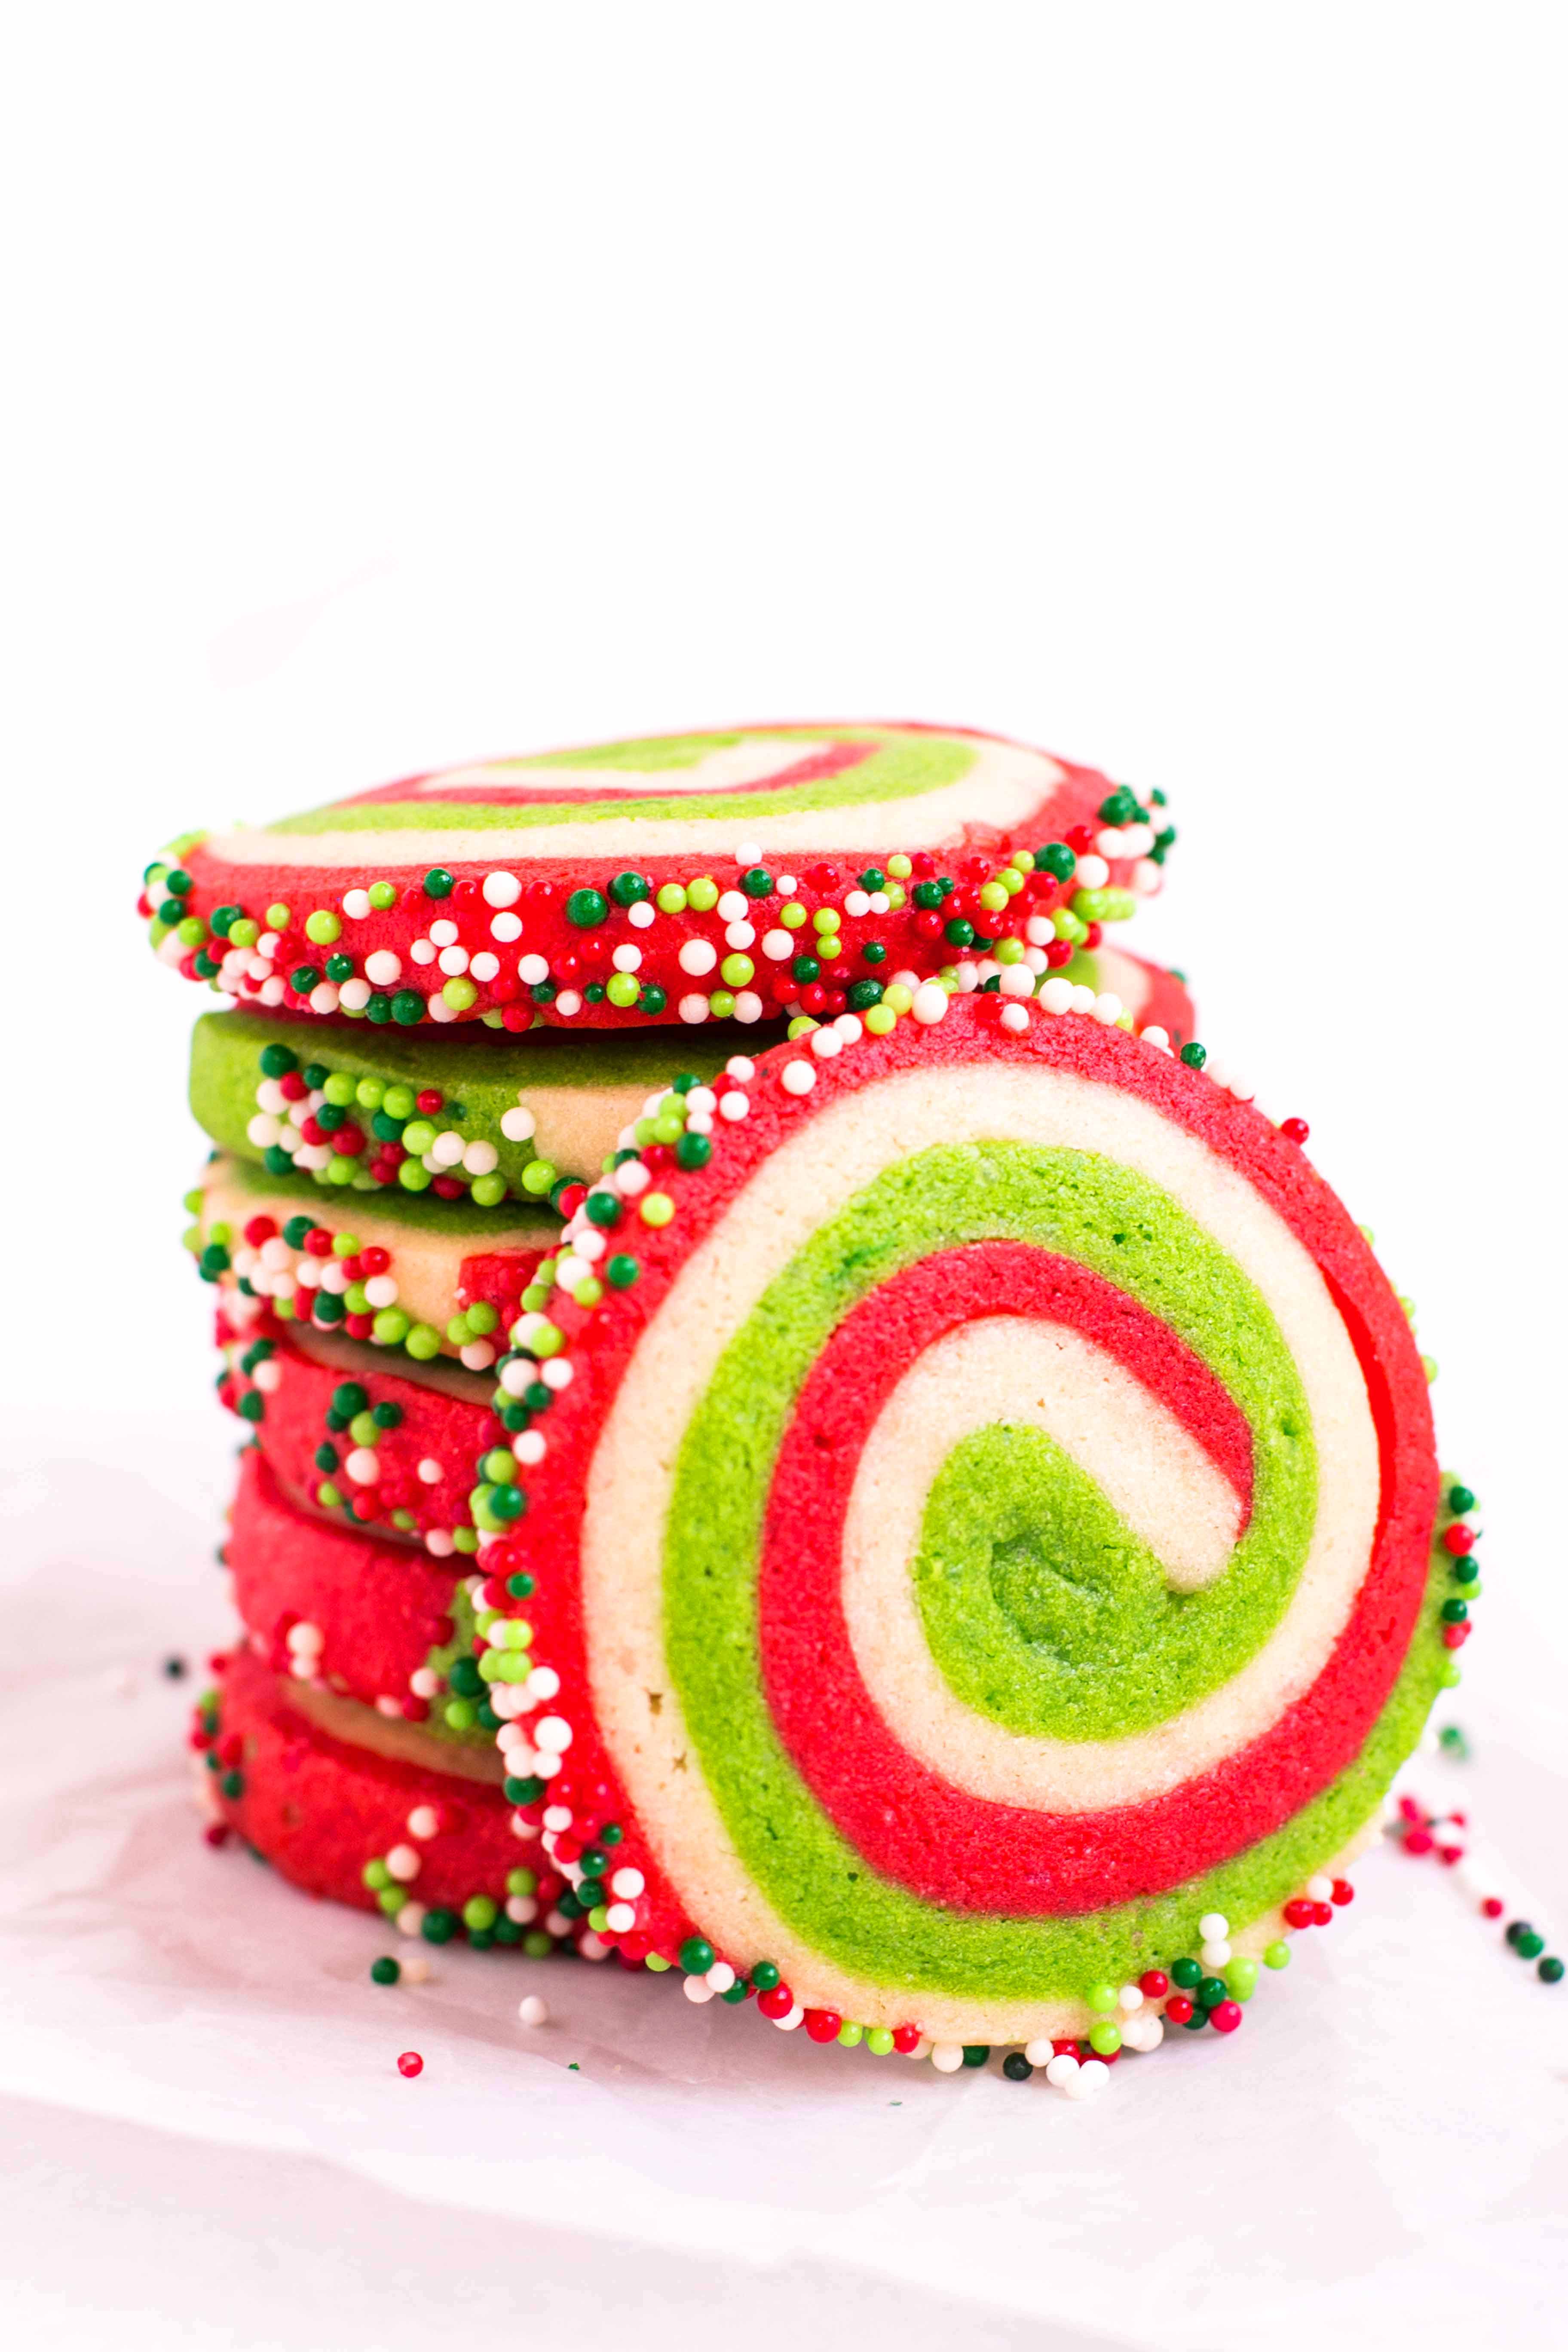
If you’re looking for a cookie that just screams “Christmas!!!” These Christmas Swirl Cookies are it. I saw a version of them on the cover of Food Network Magazine this month and knew I wanted to try them out. I’m making them for a Kindergarten holiday party next week – and I just can’t believe school is out NEXT WEEK. That’s insane.
So many presents still need to be wrapped, so much still needs to happen before I have the boys home full time for Christmas break. But everything will get done – and in the meantime, the cookie fest will continue. And I will continue to be distracted by making superfluous holiday treats.

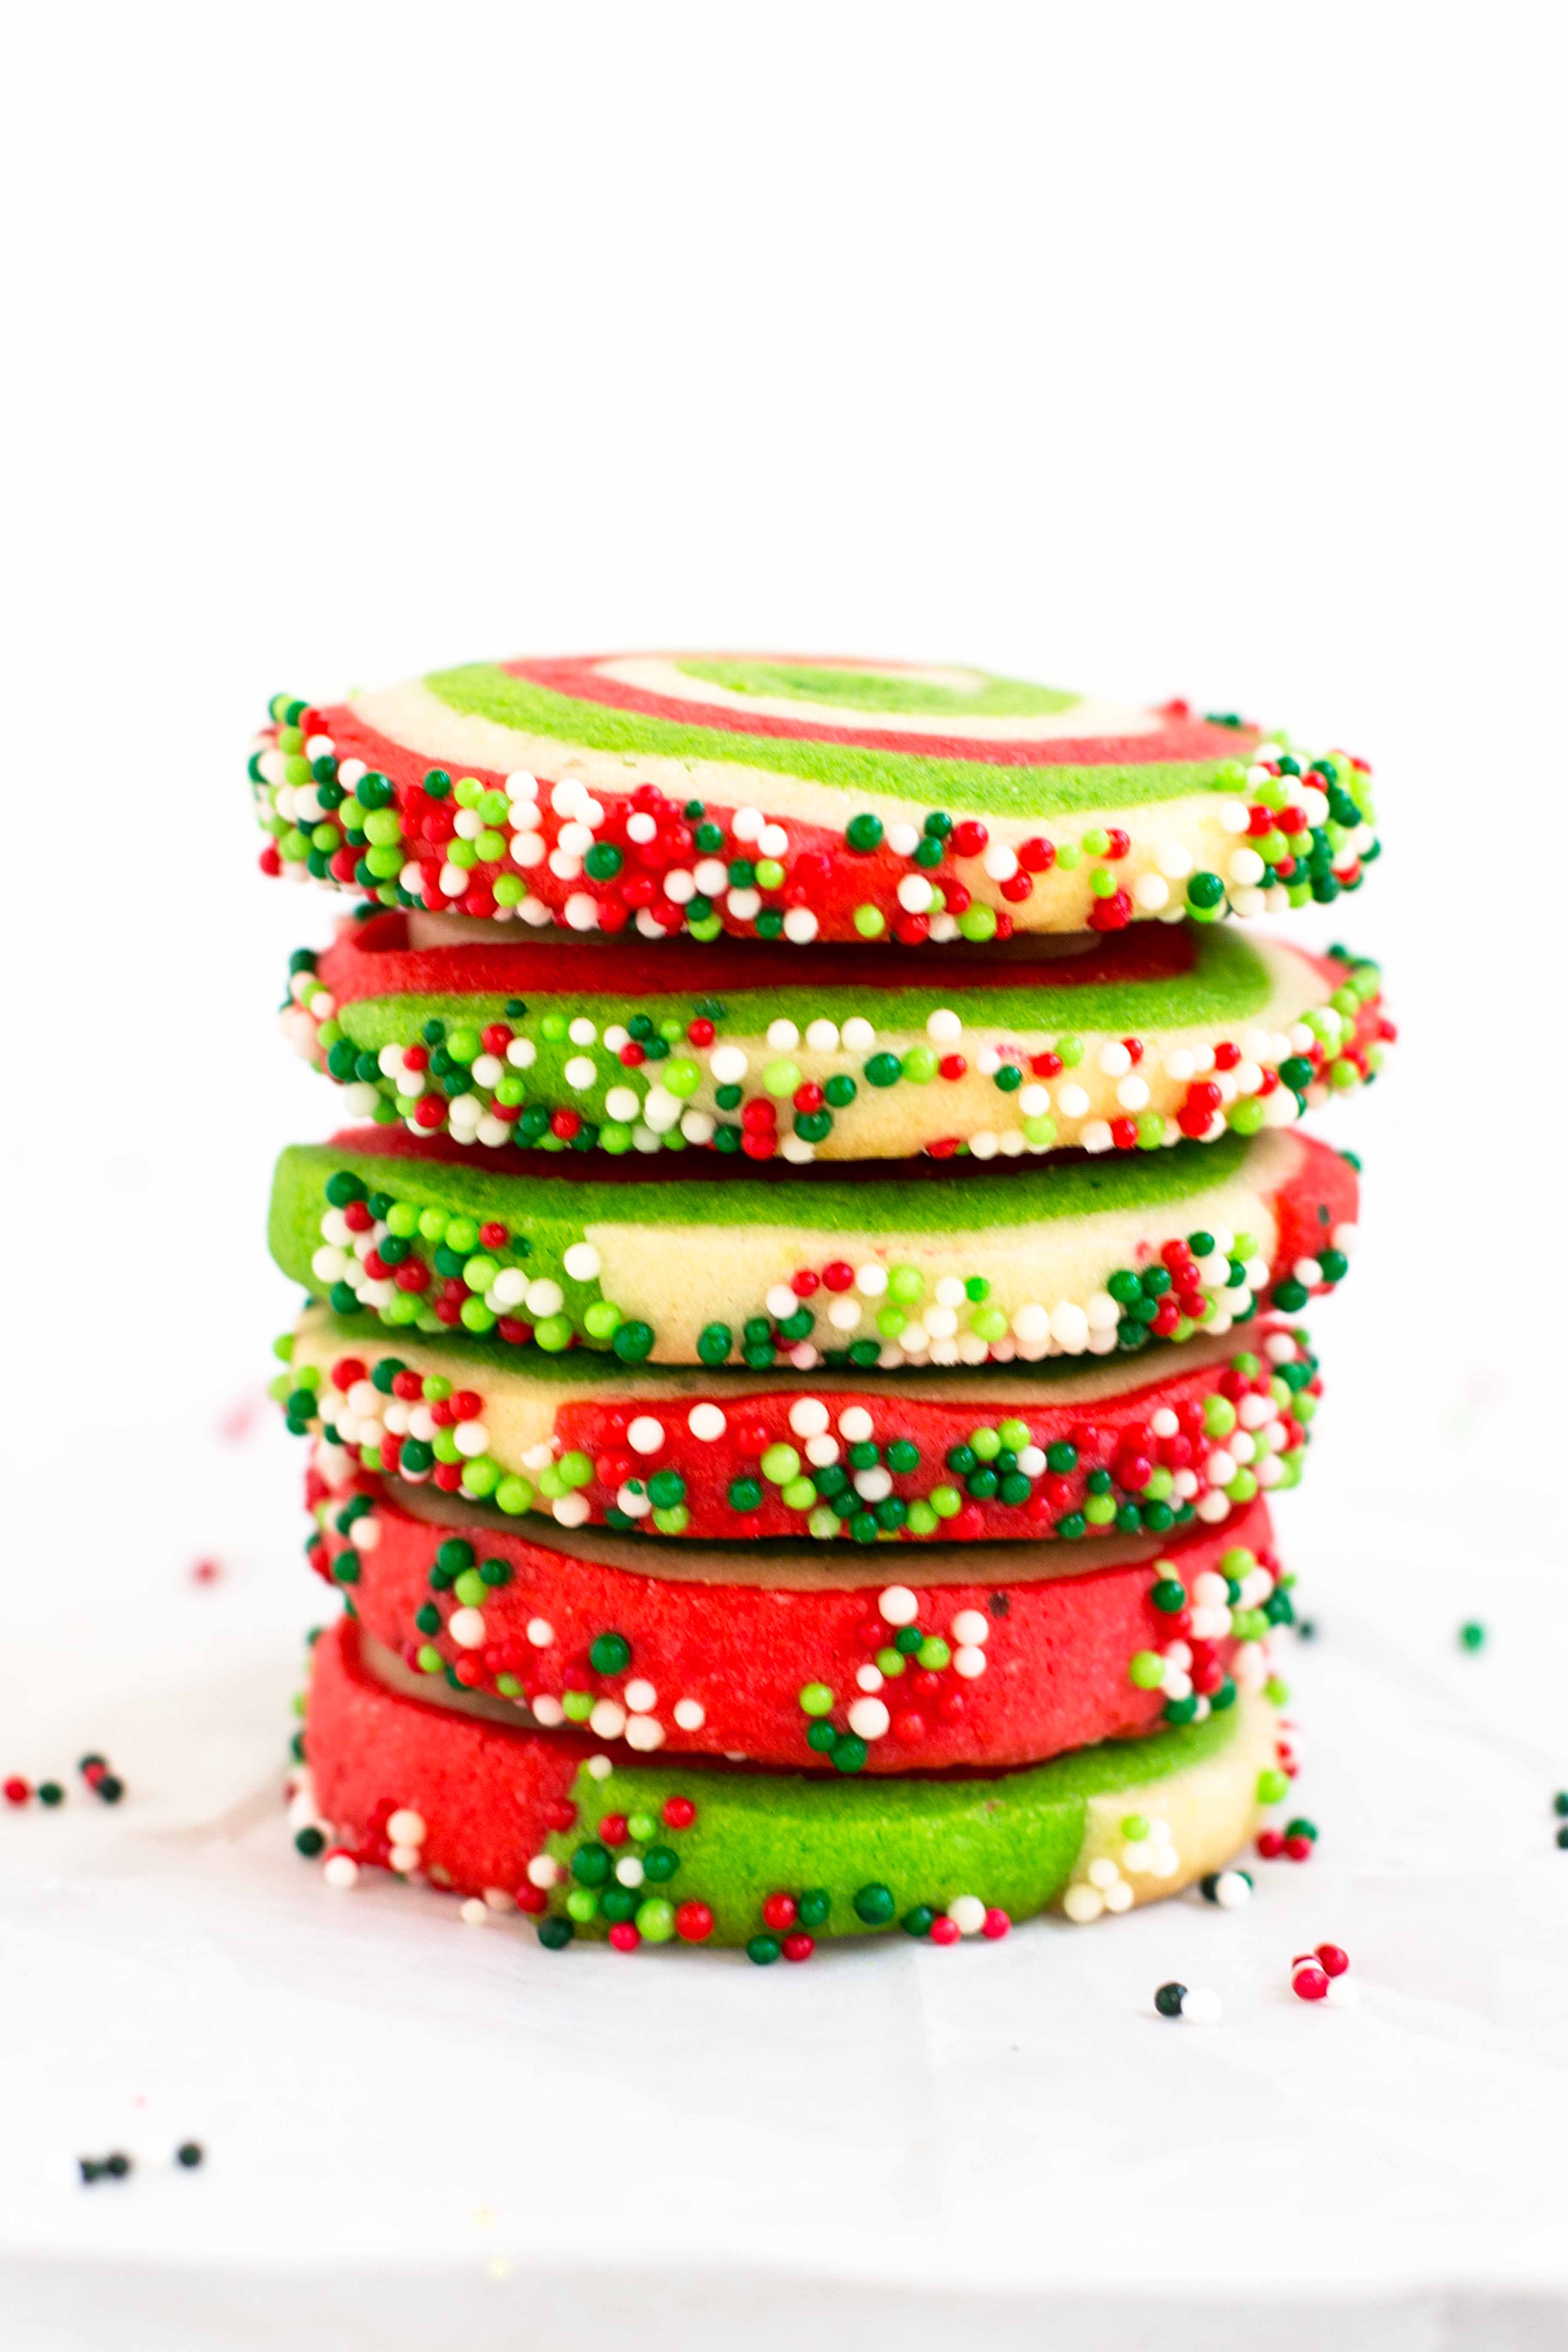
Back to these Christmas Swirl Cookies – they’re a very simple sugar cookie dough but the key is in the prep for getting that perfect swirl look. It will take some time and planning but it’s not hard. And the good news is – yes! They can be made ahead. I have 2 Christmas Swirl Cookie dough logs sitting in my freezer right now waiting to be sliced and rolled in nonpareils. Next week, getting these ready for the party will be a cinch. You could even use a box mix or store-bought sugar cookie dough and just dye it accordingly to save time. Whatever you decide to do, these will brighten up any child’s (or adult’s!) face when they see them – they’re just happy cookies. And the weekend is almost here – one. more. day.


Christmas Swirl Cookies
Ingredients:
- 2 cups flour, plus more for dusting
- 1/2 tsp baking powder
- 1/4 tsp salt
- 1 1/2 sticks unsalted butter
- 3/4 cup sugar
- 1 large egg
- 1 1/2 tsp vanilla extract
- Red gel food coloring
- Green gel food coloring
- Nonpareils, for decorating
Directions:
- Whisk the flour, baking powder and salt in a medium bowl.
- Beat the butter and sugar in a large bowl with a mixer on medium-high speed until it's light and fluffy, 3-5 minutes.
- Add in the egg and vanilla extract and beat until well combined.
- Reduce the mixer to low and slowly add in the flour, then increase the speed to medium-high and beat until well combined.
- Divide the dough into 3 equal pieces (if you own a kitchen scale, now is a good time to use it!). Return 1 piece to the bowl and add in 1/2 tsp red gel food coloring (add more if you desire a darker/brighter color). Repeat with the green food coloring. Leave the last piece of dough plain.
- Place each piece of dough on a separate piece of plastic wrap and pat into a 4" square. Wrap and refigerate until firm, at least 1 hour.
- Lightly flour 1 piece of dough and roll it out in between two pieces of parchment paper into a 9"x12" rectangle. Repeat with the remaining dough.
- Stack the sheets of dough with parchment paper layered in between and chill for at least 30 minutes or until firm.
- Carefully remove the top piece of parchment paper from each sheet and flip the red dough on top of the plain dough and remove the parchment. Next, flip the green dough on top of the red dough - remove the parchment.
- Roll up the sheets from the long side into a tight, long log - use the parchment paper to help you.
- Wrap with plastic wrap and transfer to a baking sheet and chill for at least 1 hour.
- Preheat the oven to 350F - line 2 baking sheets with parchment paper. Trim the ends of the log and then slice into 1/4" thick rounds (if dough is too soft to slice, refigerate for 15-30 minutes). Roll/press the edge of the rounds into the nonpareils and place on the baking sheet at least 1" apart.
- Bake for 10-12 minutes, until the cookies are just firm - you don't want them to start to brown. If you're baking more than one sheet at a time, rotate the pans halfway through. Let cool 10 minutes on the sheets and then transfer to a wire rack to cool completely.
*If making these ahead, once you've formed the log, tightly wrap it in plastic wrap and then in aluminum foil and freeze until you're ready to slice and bake.
Recipe and method adapted from Food Network Magazine: Volume 9, Number 10.