Carvel Ice Cream Cake 2.0

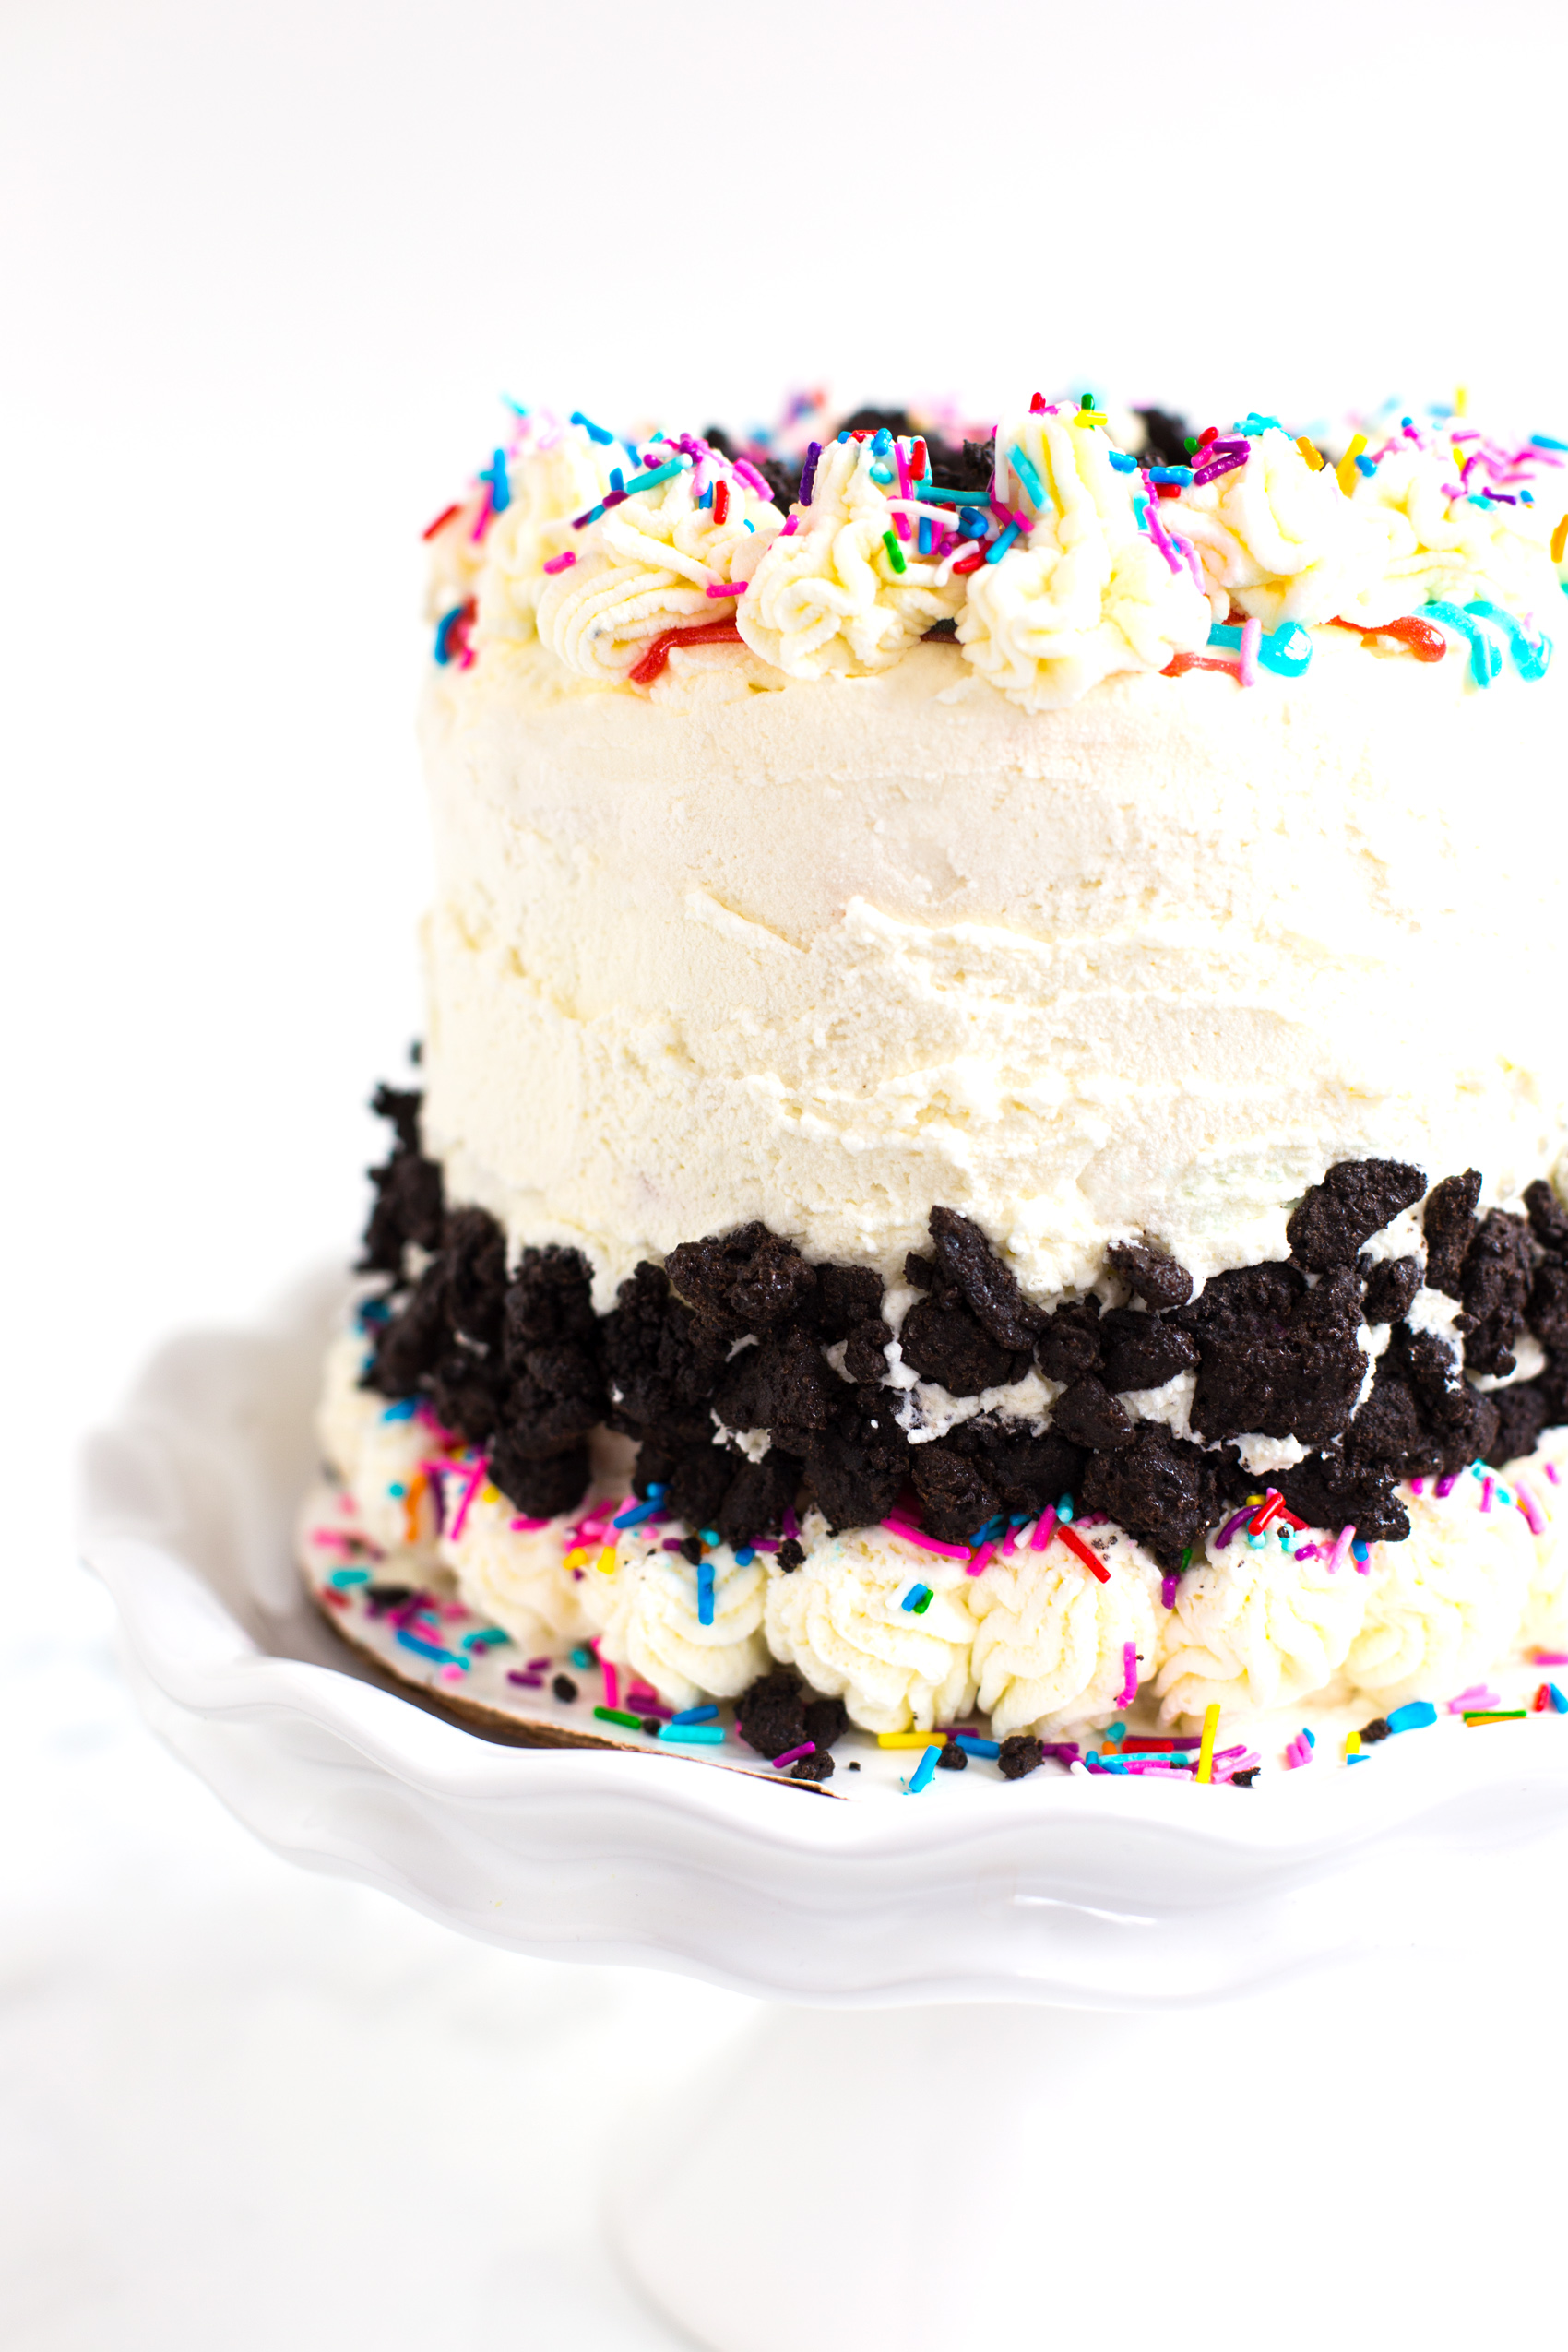
I have a confession to make. Ever since my birthday in June, I’ve been eating some form of Carvel Ice Cream Cake every. single. day. That is until my cake supply unfortunately ran out last week. I’m currently going through withdrawal. Since as far back as I can remember, every birthday I would ask for a Carvel Ice Cream Cake. I have such vivid memories of going to the store with my mom to pick out the gel design I wanted on top of the cake (rule of thumb: the more gel, the better). I’ve continued this addiction tradition and still get Carvel Ice Cream Cake every year starting on my birthday. I usually buy a backup supply to last me through summer. This year, however, I took it to the next level and tried to make it myself. Enter Carvel Ice Cream Cake 2.0.
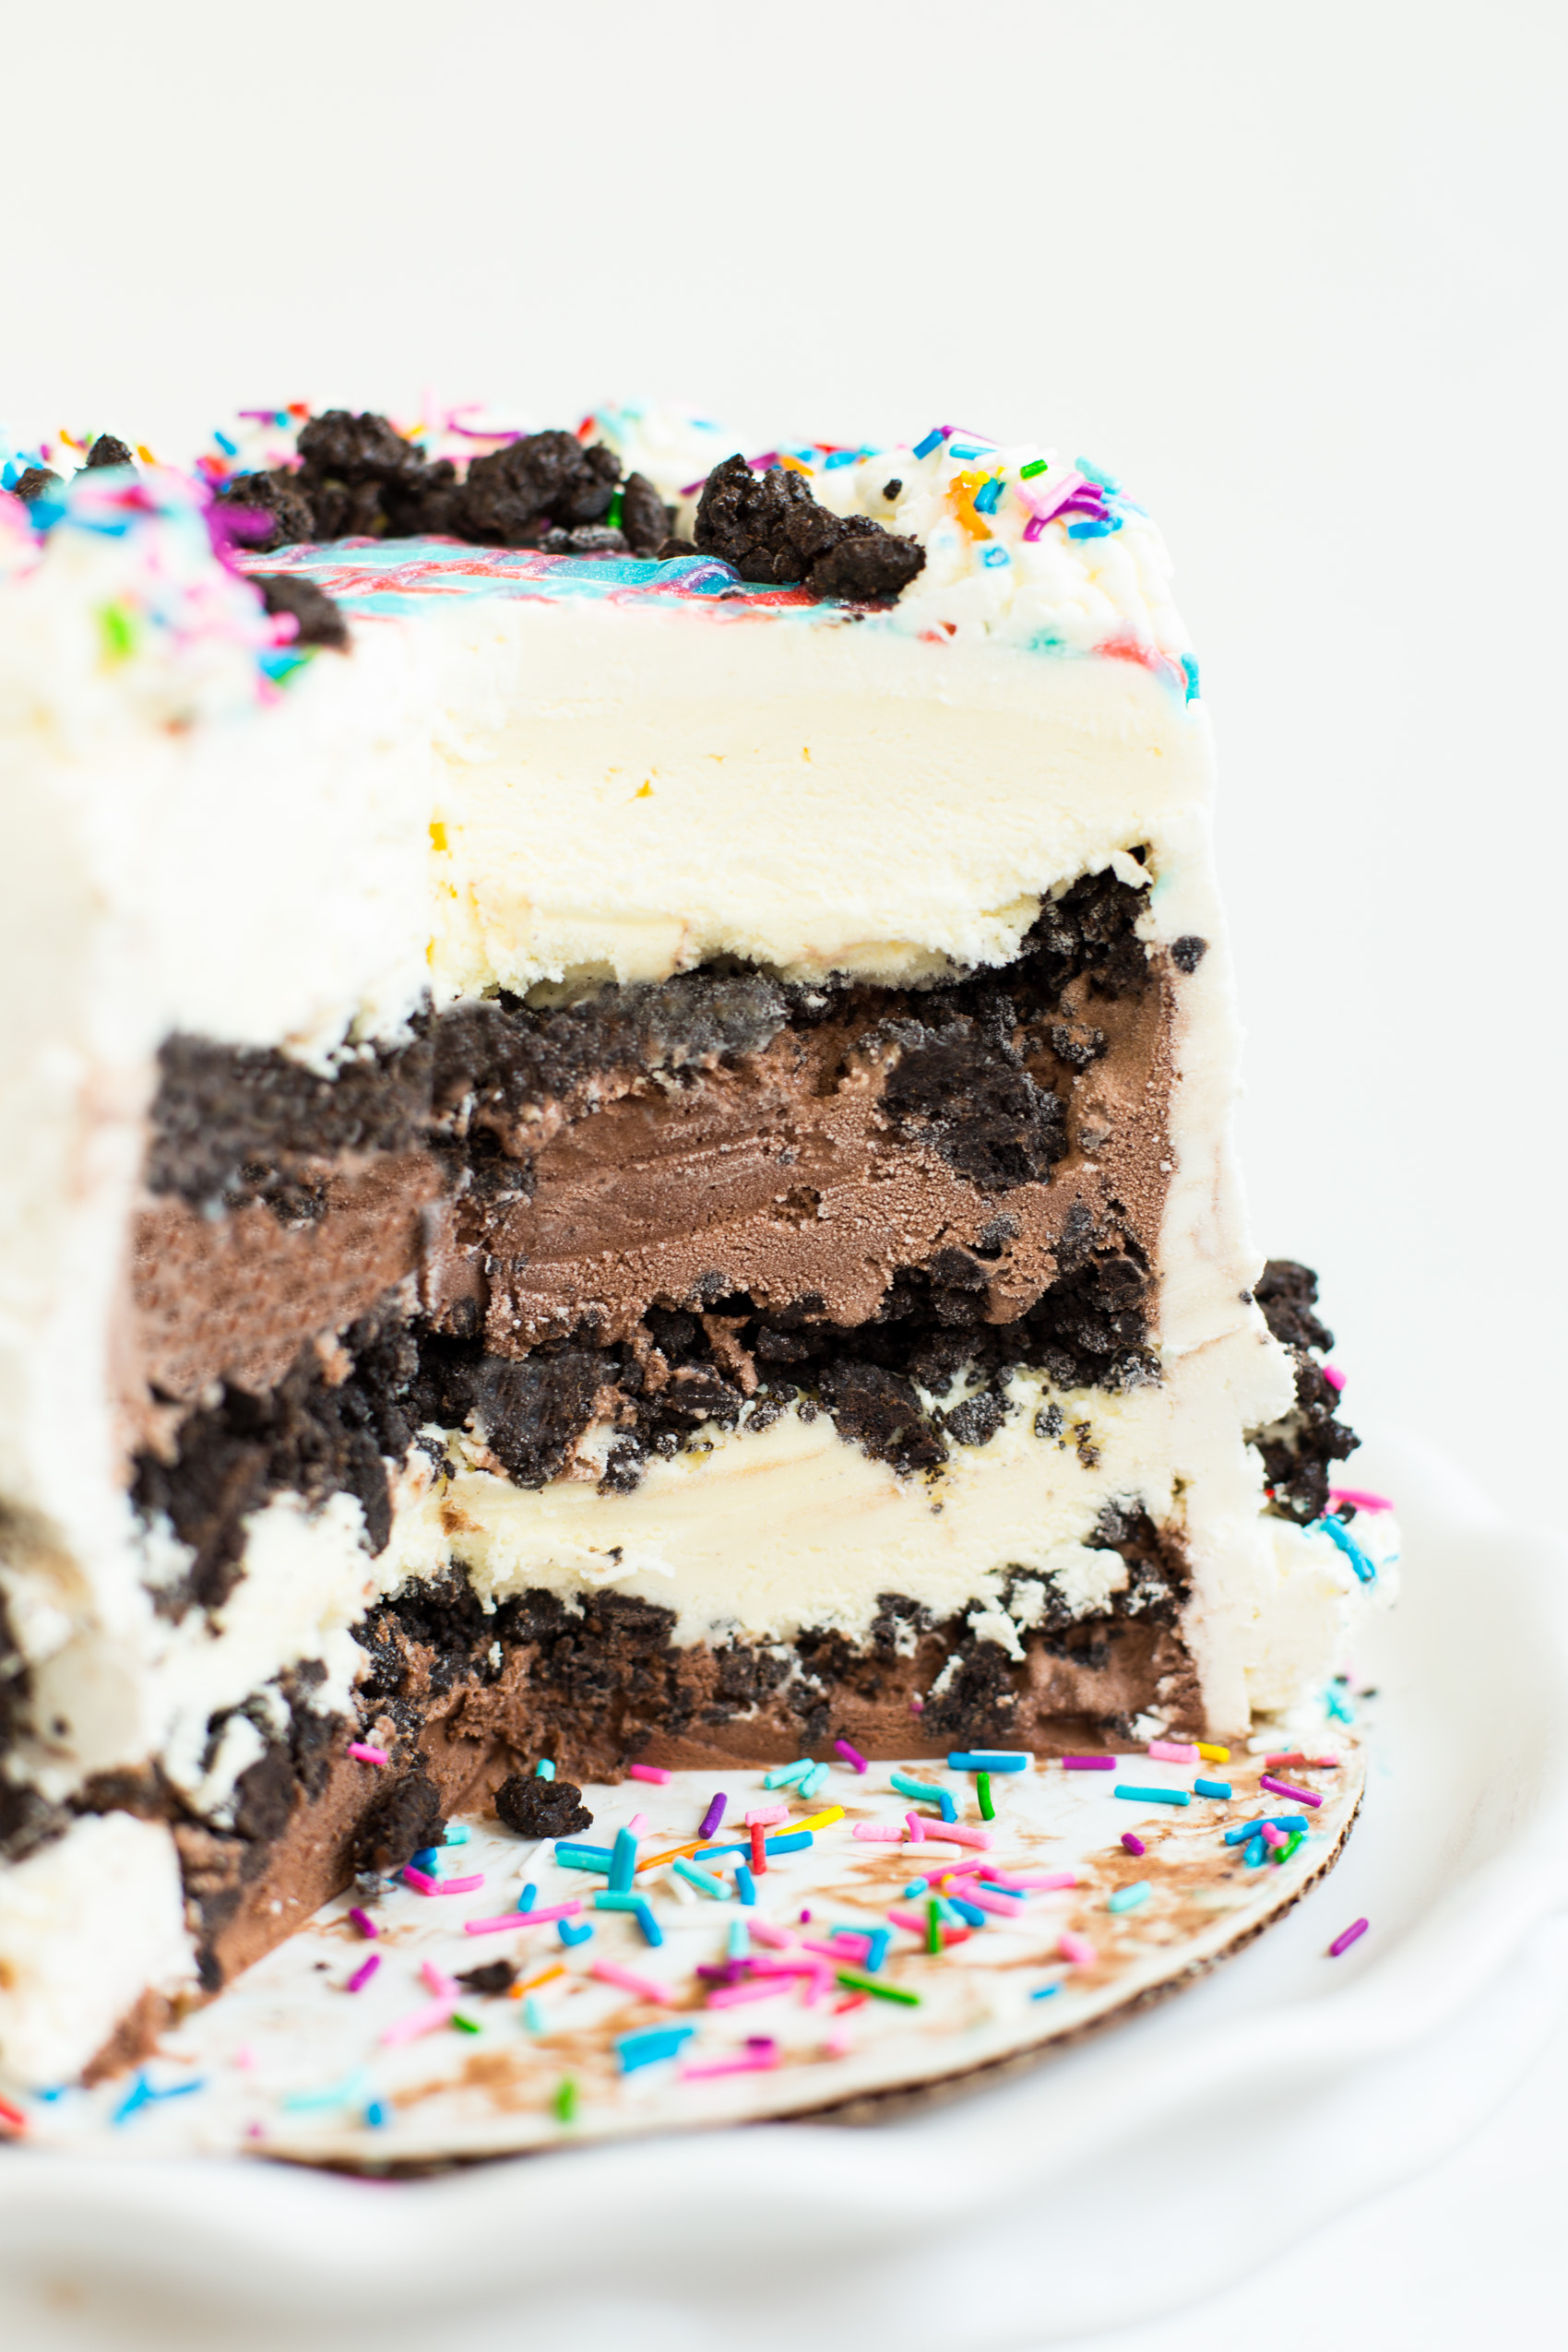
So, everyone knows that the best part of a Carvel Ice Cream Cake is the crunchies. The more crunchies, the better. I usually ration out my crunchies when I eat it so that every bite has just the right amount. (Yes, I know, I have a problem.) The beauty of making this cake yourself is that you can totally control just how many crunchies are in this unreal ice cream cake. When I made this cake, I tripled (yes, tripled) the crunchy recipe and had plenty extra to have on hand as a topping for other flavors of ice cream or, you know, to just eat by the handful. The most consistent copycat recipe I found for the crunchies consists of only 2 ingredients: Chocolate Wafers and Magic Shell chocolate sauce. That’s it. Combining these two things makes perfect Carvel Crunchies. They’re actually even better than the original because they’re more crisp.

When making this cake, the obvious and most traditional route is to go with chocolate and vanilla ice cream layers, but really you could use any flavor your heart desires. I made my own whipped cream for the “frosting” on the cake. Don’t get me wrong, it was delicious; however, the consistency and flavor isn’t quite the same as Carvel. Next time I make it, I might try using Cool Whip to get a closer match to the real Carvel.

As much as I love Carvel, this cake was also realllllyyyyy good. I will always buy my Carvel birthday cake each year, but I think know Carvel Ice Cream Cake 2.0 is going to make an annual appearance as well. And I’m also pretty sure that I will keep a year round stash of crunchies in my fridge.
We’ve got a few weeks of summer left so there’s still time to enjoy a delicious ice cream cake! Enjoy 🙂

Carvel Ice Cream Cake 2.0
Ingredients
- 1 gallon vanilla ice cream softened
- 1 gallon chocolate ice cream softened
Whipped Cream Frosting
- 3 cups heavy whipping cream
- 3 tsp gelatin unflavored
- 3 tbsp water
- 9 tbsp confectioners sugar
- 3 tsp vanilla extract
Crunchies
- 2 bottles Magic Shell chocolate sauce
- 2 packages chocolate wafers pulsed in a food processor
Instructions
- Freeze a springform pan (or 6" cake ring if you're going for the Momofuku style layered cake) for at least 30 minutes.
- Pulse one package of Chocolate Wafers at a time in a food processor until they're coarse crumbs (you don't want them to be too fine or they'll clump together).
- Pour the crumbs into a medium bowl and add in both bottles of Magic Shell chocolate sauce - mix well, set aside.
- Mix the cold water and gelatin in a microwave safe dish. Allow to sit for 1 minute, then microwave the gelatin for 30 seconds to make it liquid again. This will stabilize the whipped cream.
- Using a whisk attachment, mix the heavy cream on medium speed and gradually increase the speed to high. Once it starts to thicken, add in the confectioners sugar and liquid gelatin. Once stiff peaks form, add in the vanilla and whip until it's well incorporated - set aside.
- Once the pan is cold enough, place a layer of chocolate ice cream down. If using a springform pan, use enough ice cream to make it halfway up the pan. If using the Momofuku method, line your cake ring with a strip of acetate and place this on a cardboard round; then spread an even layer of chocolate ice cream. Place an even layer of crunchies on top of the ice cream and place in the freezer for 10-15 minutes.
- Next, add a layer of vanilla ice cream. Repeat the process again if using the Momofuku method (adding strips of acetate as you build upward), until you've reached your desired height. Be sure to make the top layer of the cake as smooth and even as possible. Once layering is complete, place the cake in the freezer for at least a few hours or overnight.
- Remove the cake from the freezer and carefully remove the springform pan or cake ring (you may need to run a hot washcloth around the edge to loosen it from the pan). Carefully remove the pan or ring.
- Decorate the cake with the stabilized whipped cream and additional crunchies as desired.
- Place the cake back in the freezer to set and be sure to remove it 10-15 minutes before serving to allow it to thaw.
