Frosted Slice-and-Bake Cookies

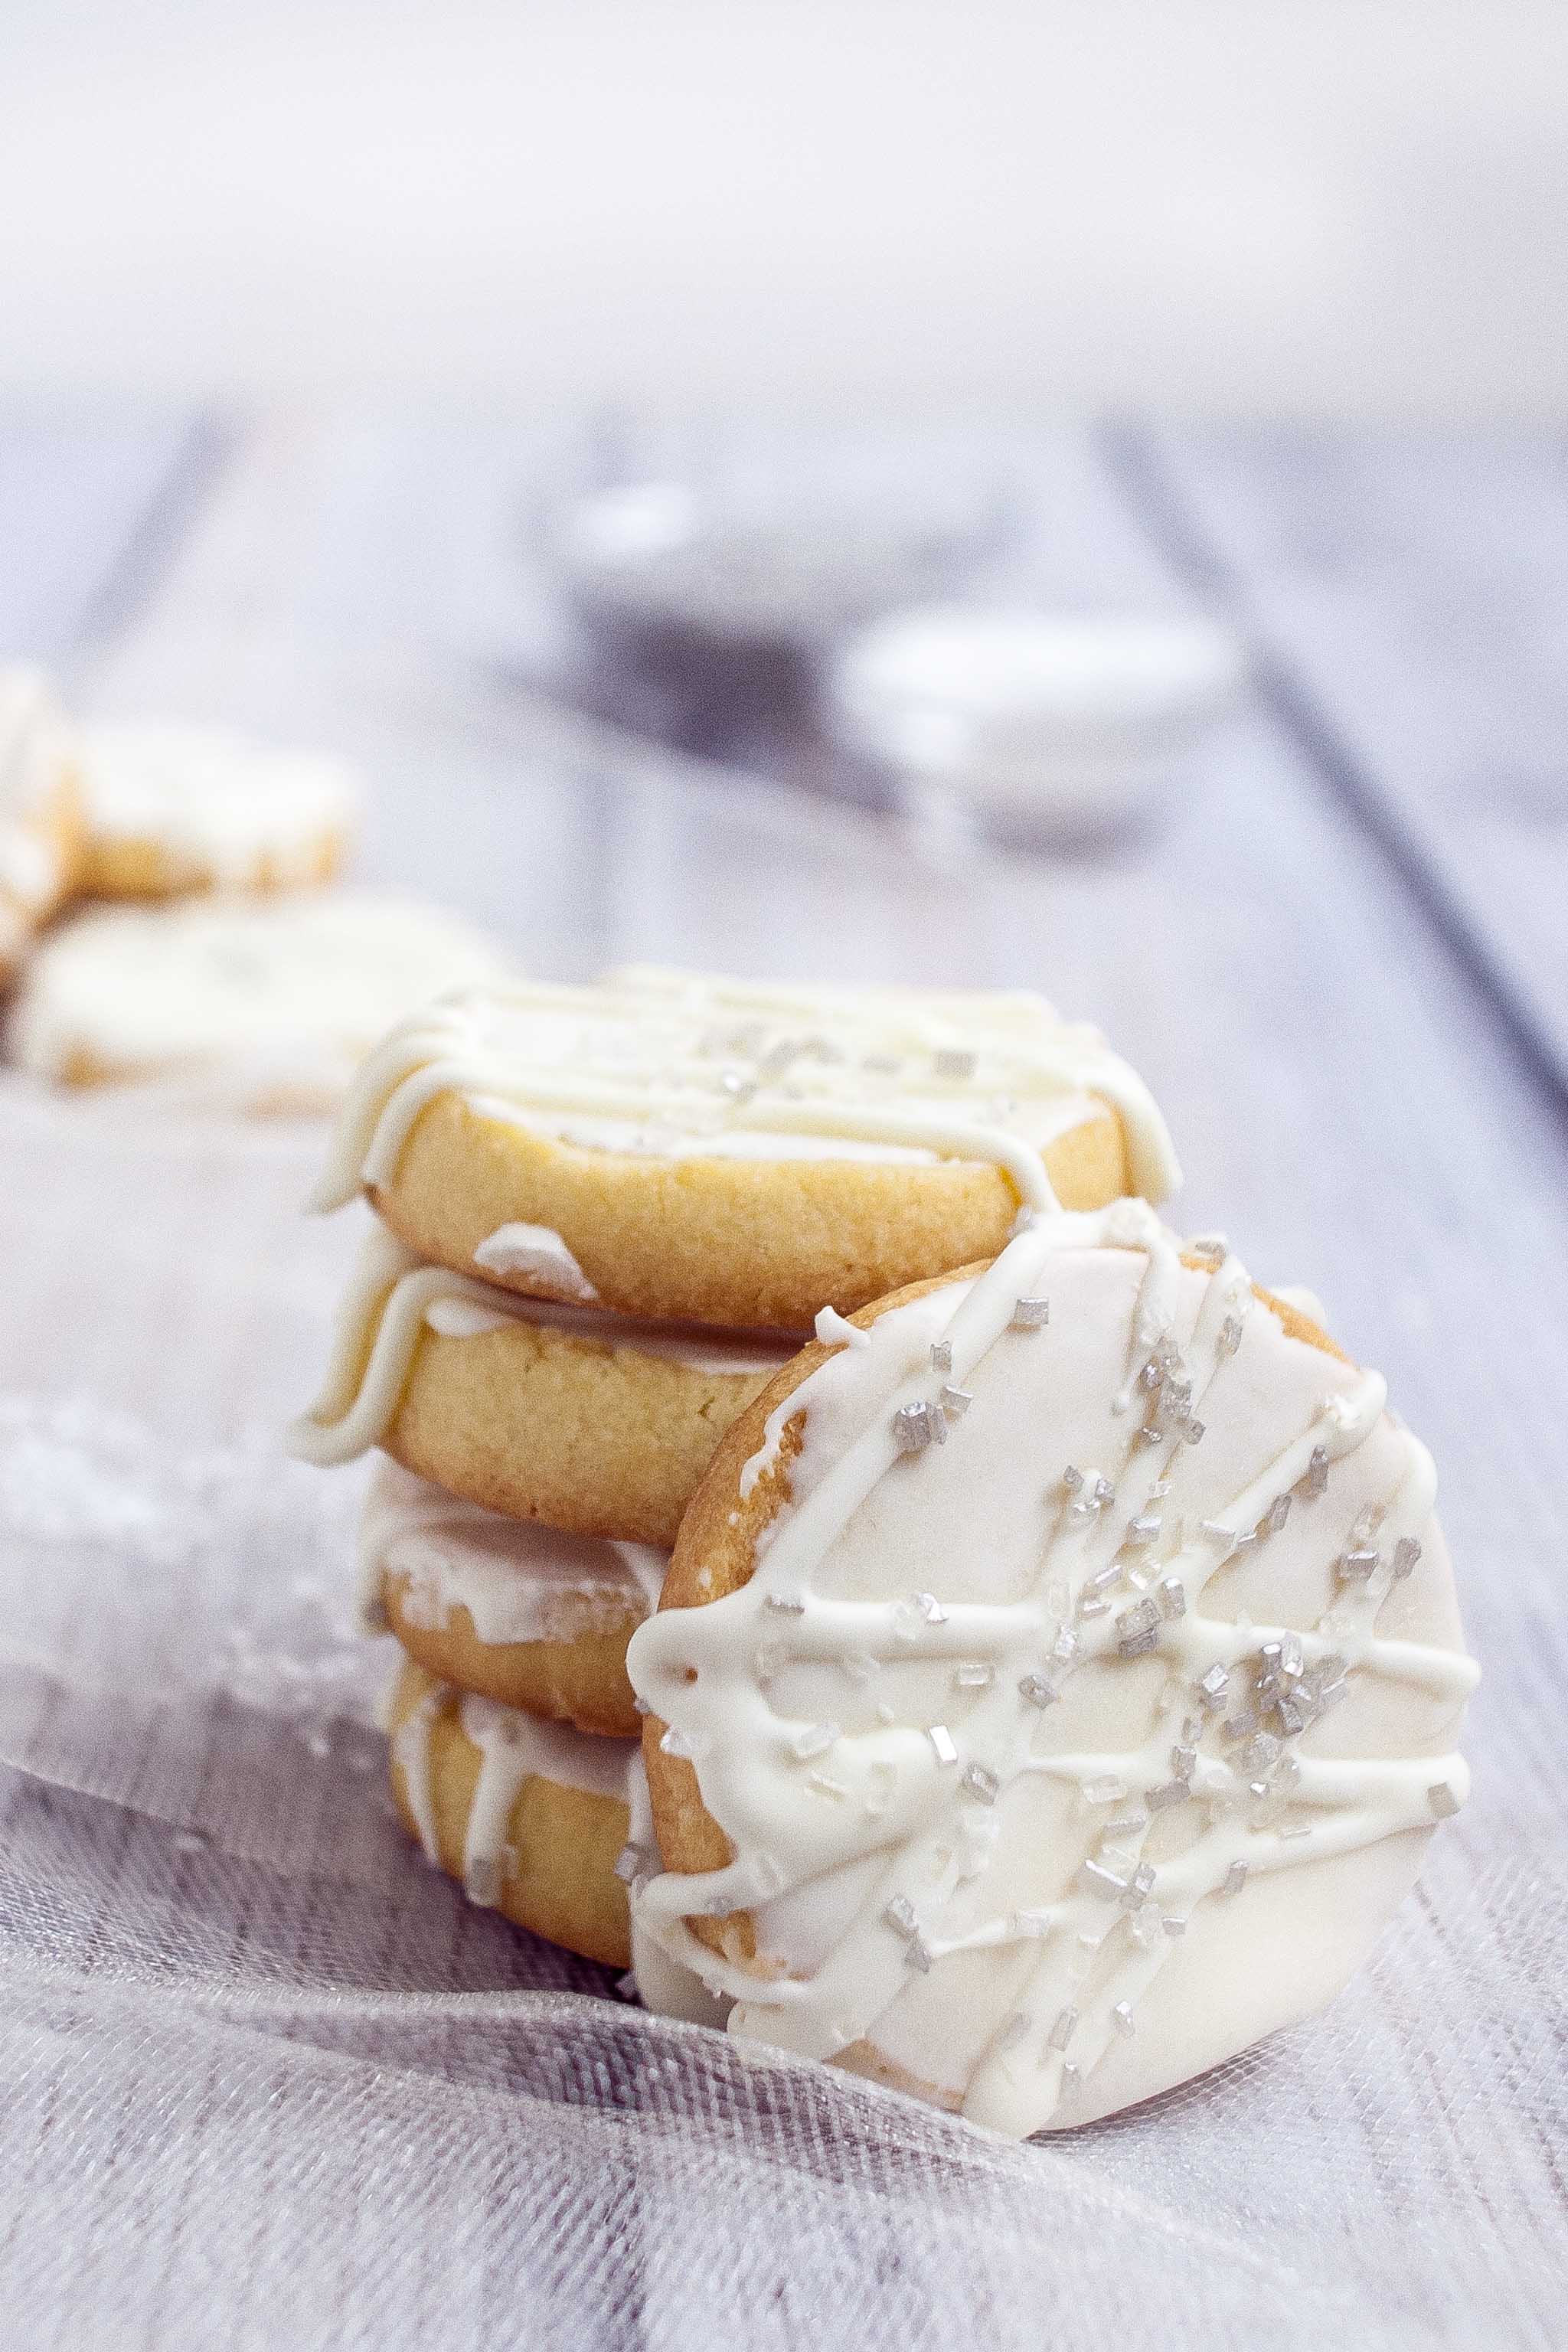
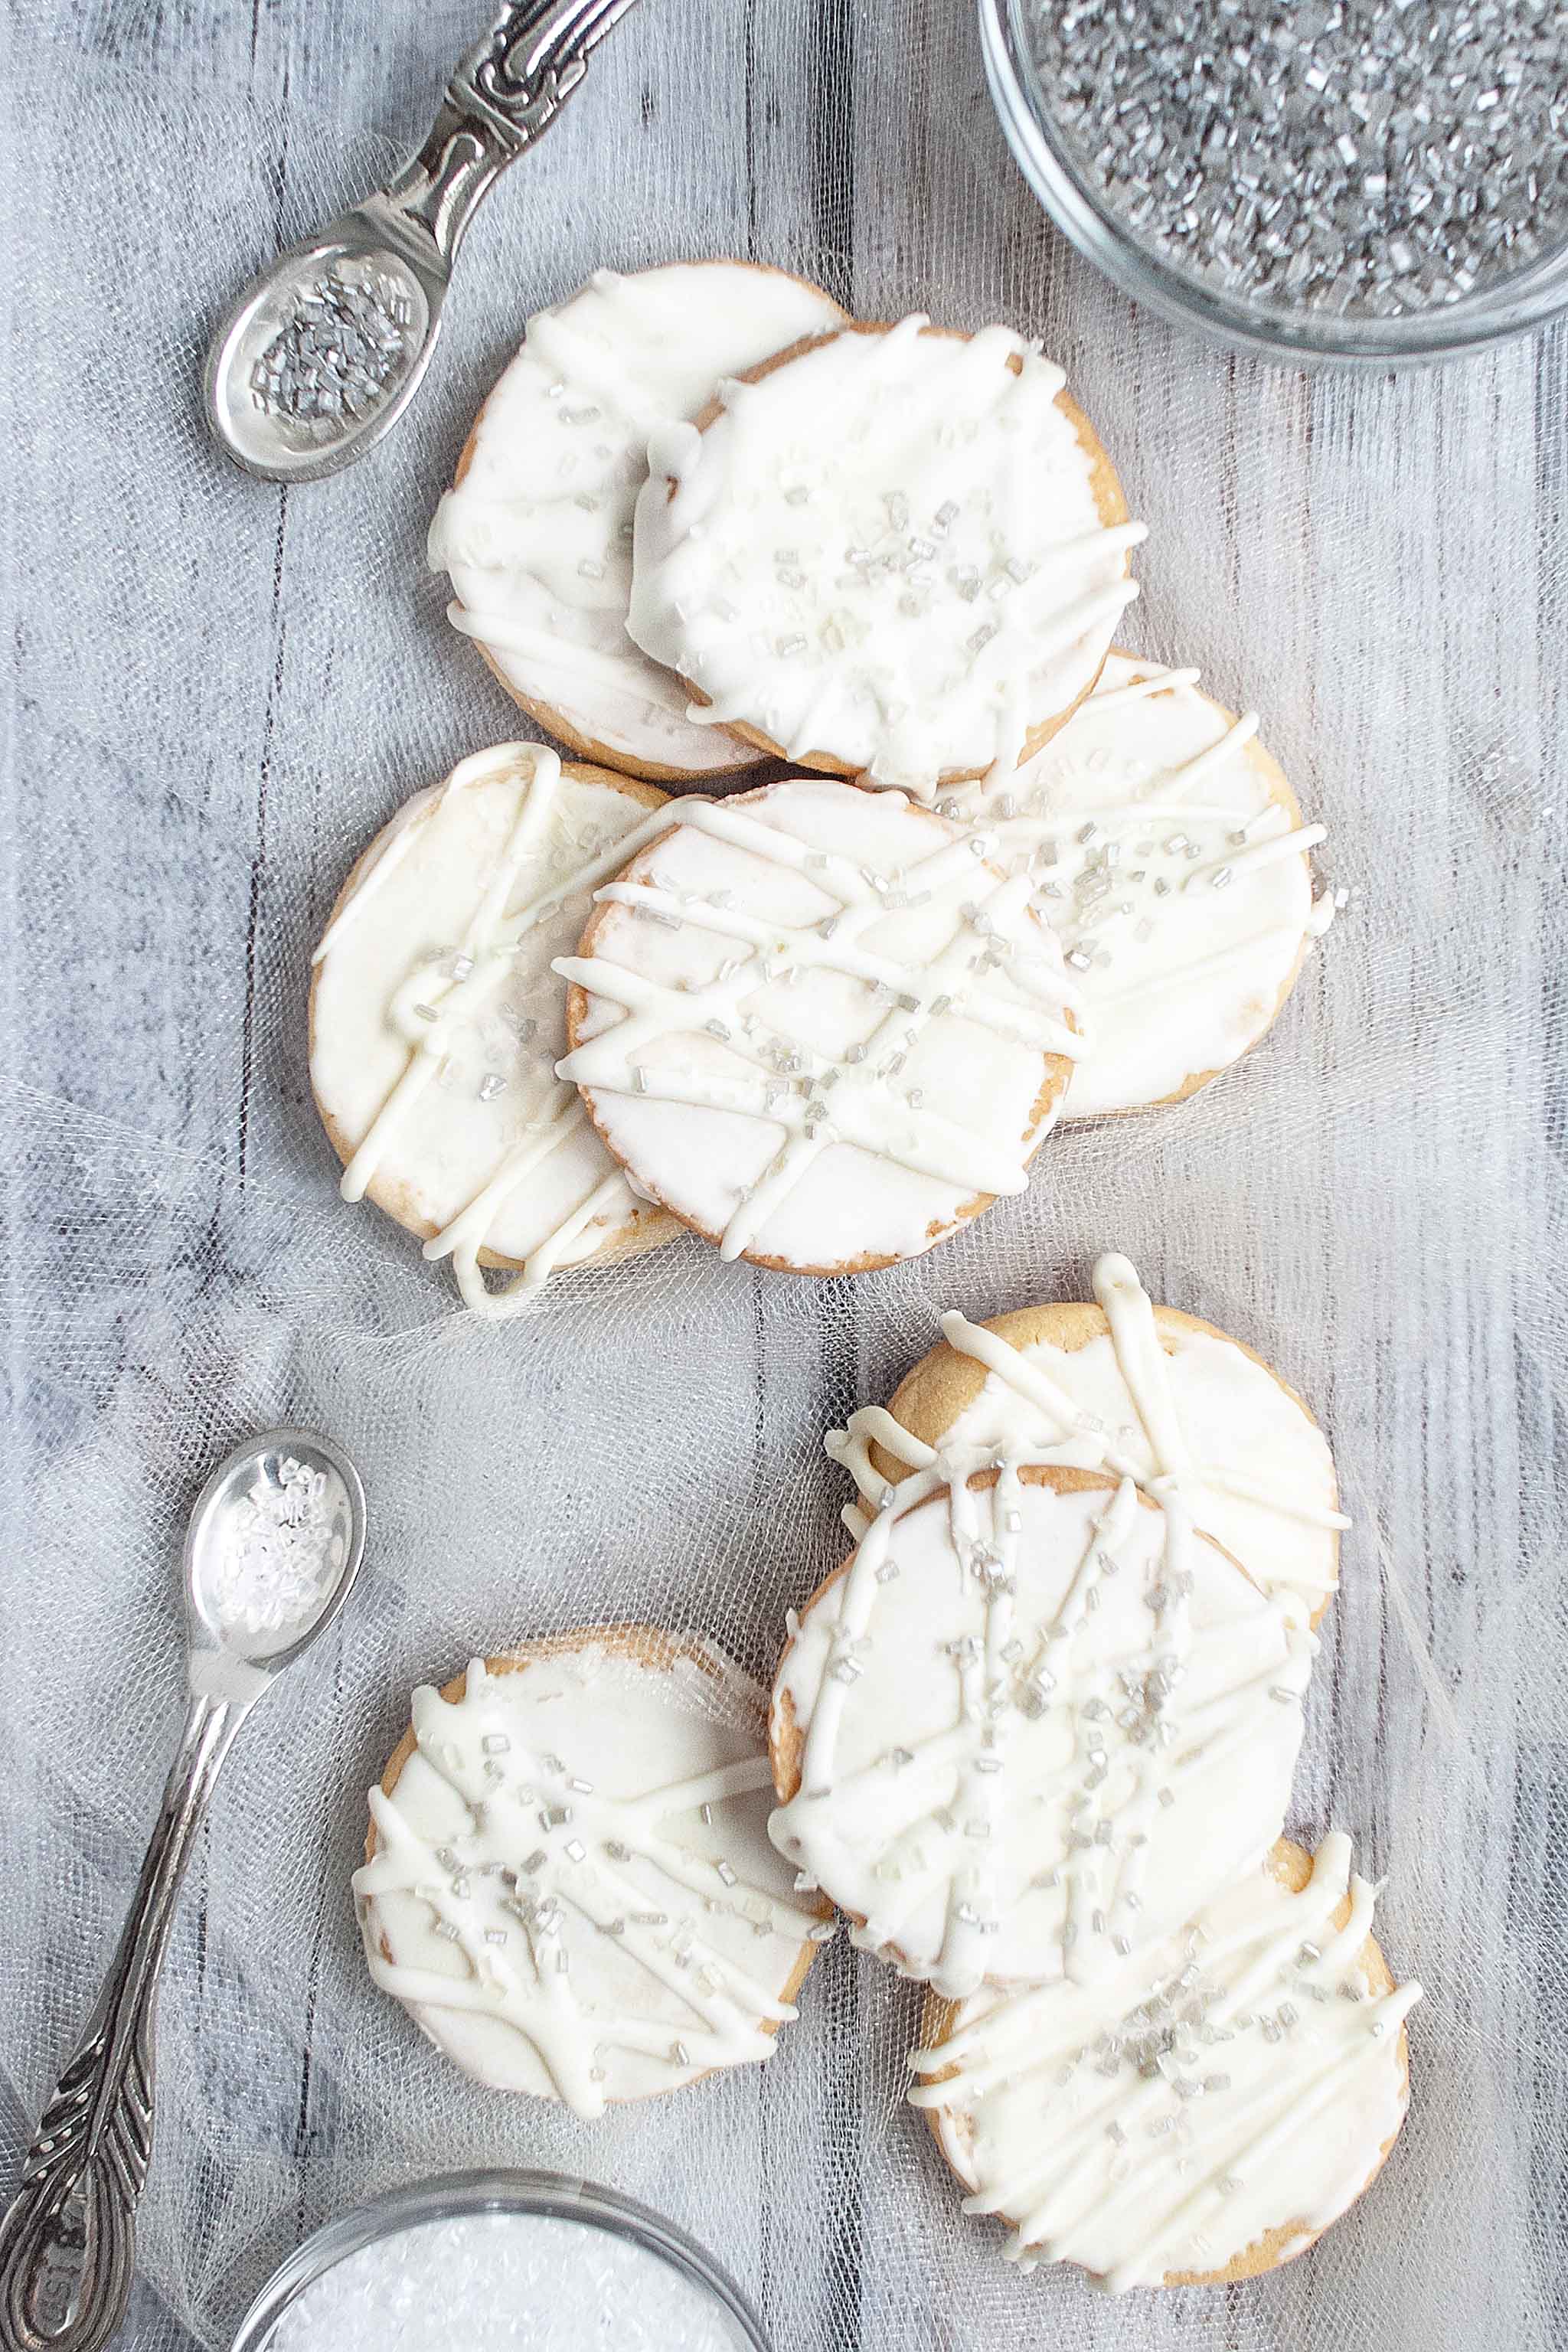
I LOVE the way these Frosted Slice-and-Bake Cookies came out! They look like little glistening snowballs – so festive! They taste pretty amazing too. They’re a simple and classic crunchy butter and sugar cookie topped with royal icing to give them a really polished look.
You could top these cookies with a simple icing (powdered sugar + water), too, and they’d be just as good. I’m pretty sure Charlie ate about 6 of these right when they came out of the oven – so, yes, kids do like them. His only complaint was that they were all white – so, I had a fair share that were doused in red and green nonpareils. 🙂

Another great thing about these Frosted Slice-and-Bake Cookies, is how easy they are to make. They’re “slice-and-bake”, as in, make the dough, form it into a log, refrigerate it until firm and then literally slice it into little rounds. (Note: you can also make these ahead and freeze the log until you’re ready to bake them.) You might just need to reshape the log a little bit before cutting if you have a flattened bottom. I got them as round as I could in log-form and then once they were all cut and thawed a bit, I used the flat part of a large knife and my palm to go all the way around the cookies making them perfectly circular (yes, I might have OCD). Regardless, these cookies require very few, pantry staple ingredients and a simple method to make.
I’m a little sad that this will be my last new cookie post until after Christmas but I suppose it’s time for me to focus on prepping for hosting Christmas Day. Happy Holidays!


Frosted Slice-and-Bake Cookies
Ingredients:
Cookies
- 2 1/2 cups all-purpose flour
- 1/2 tsp salt
- 1 cup (2 sticks) unsalted butter, roomt temp
- 3/4 cup sugar
- 1 tsp vanilla
- 4 large egg yolks
Royal Icing
- 1 egg white
- 1/2 tsp lemon juice
- 1 3/4 cup confectioners sugar
Directions:
Cookies
- Using an electric mixer on medium-high speed, beat together the butter, sugar and vanilla. Occassionally scrape down the sides until the mixture is light and fluffy.
- Add the egg yolks, one at a time, until its just combined.
- In a separate bowl, whisk together the flour and salt.
- Reduce the speed to low and slowly add in the flour mixture. Mix until everything is well combined, occassionally scraping down the sides of the bowl.
- Divide the dough in half; then roll each half into a 10" log with about 1 3/4" diameter.
- Wrap the log of dough in plastic wrap and refrigerate until firm, at least 1 hour. At this point, the dough can be refrigerated for 2 days or frozen for up to 1 month.
- Preheat the oven to 350F and line 2 baking sheets with parchment paper. Unwrap 1 dough log and, using a sharp, lightly floured knife, cut it into 1/4"-thick rounds. Place the rounds on the baking sheet 1" apart.
- Bake until cookies are firm and golden brown around the edges - about 12-15 minutes. Let cool on the baking sheets for 1 minute and then transfer to a wire rack to cool completely.
- Repeat with the remaining dough log using cooled baking sheets and new parchment paper.
- Once the cookies have completely cooled, decorate as desired.
Royal Icing
- In a microwave safe bowl, mix together the egg white, 1/3 of the sugar and the lemon juice.
- Microwave in 30 second increments at 70% power until the temperature of the mixture reaches 160°F.
- Beat the egg white mixture with a whisk attachment on low speed and slowly add in all of the confectioners sugar. Turn the mixer up to medium-high speed and beat until stiff peaks form. You're going to want a pretty stiff consistency to get a nice firm line along the edge of the cookies. If you need to thin it out, add a little bit of water. If you accidentally make it too thin, just add more sugar.
- I used a small spatula to get good coverage on the cookies and let that first layer set before using a piping bag with a small round tip to get that drizzled look on top.
Cookie recipe adapted from Bon Appetit and Royal Icing from Simply Recipes.
