Pink Ombre Cake
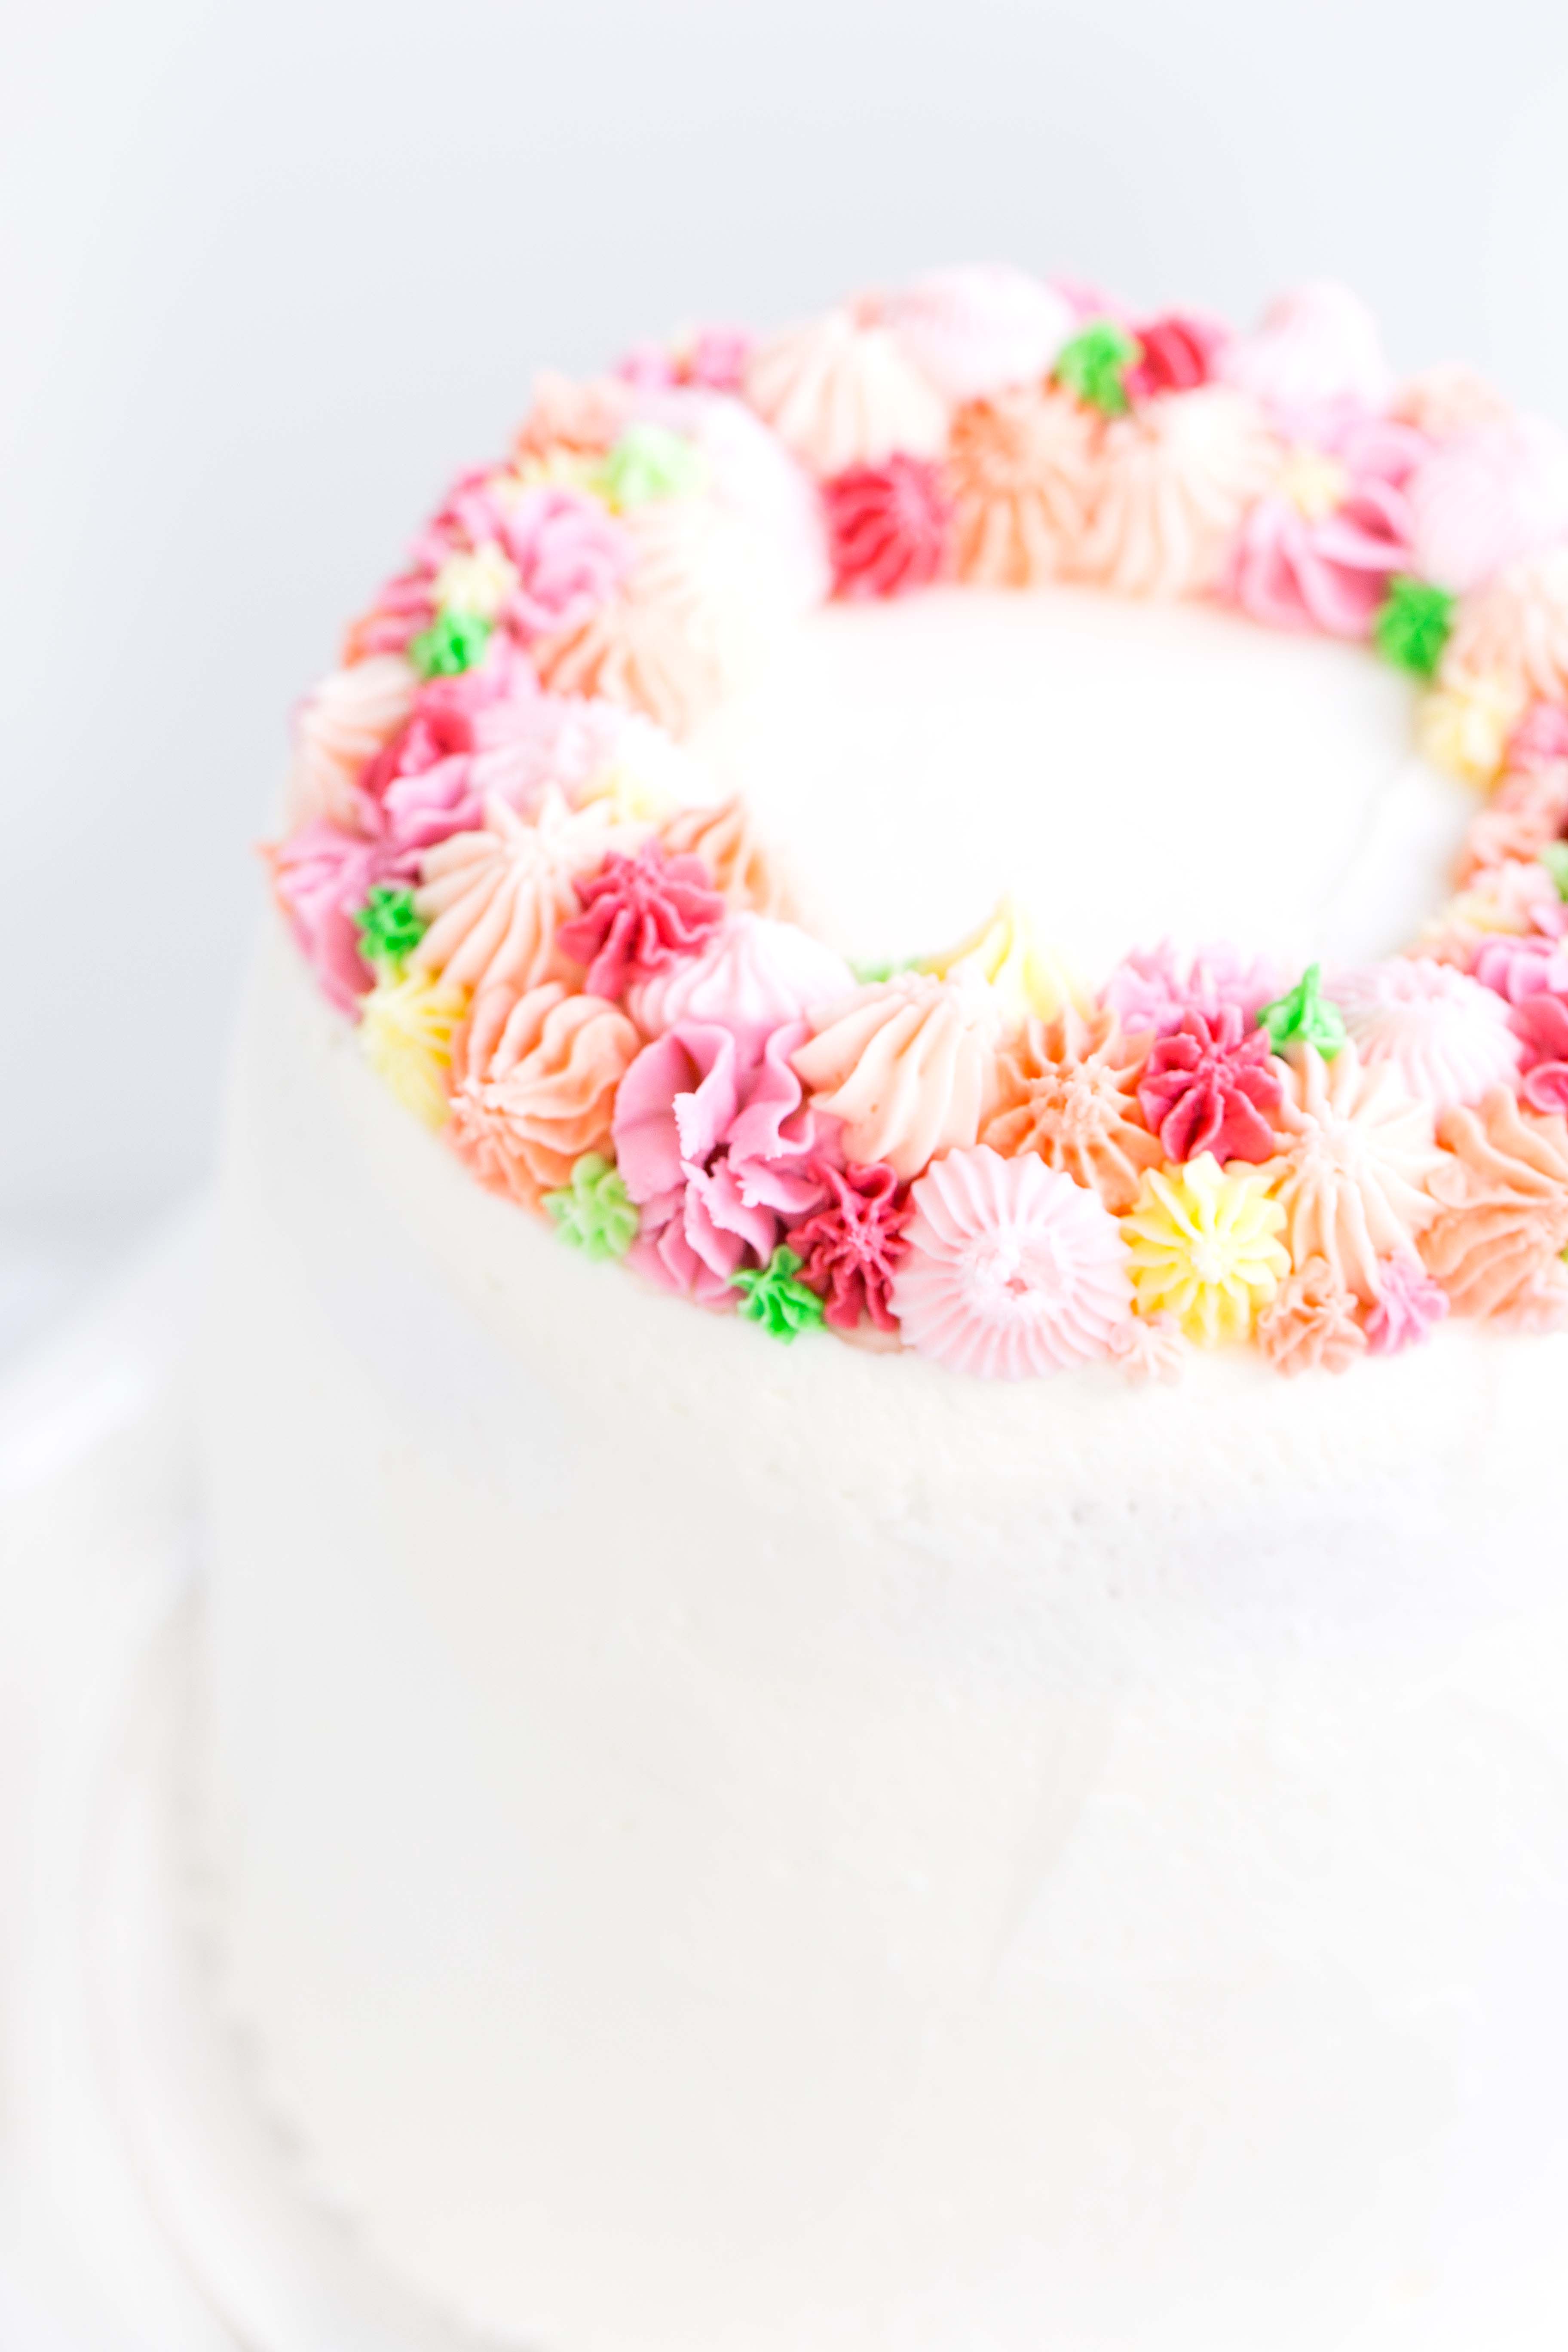
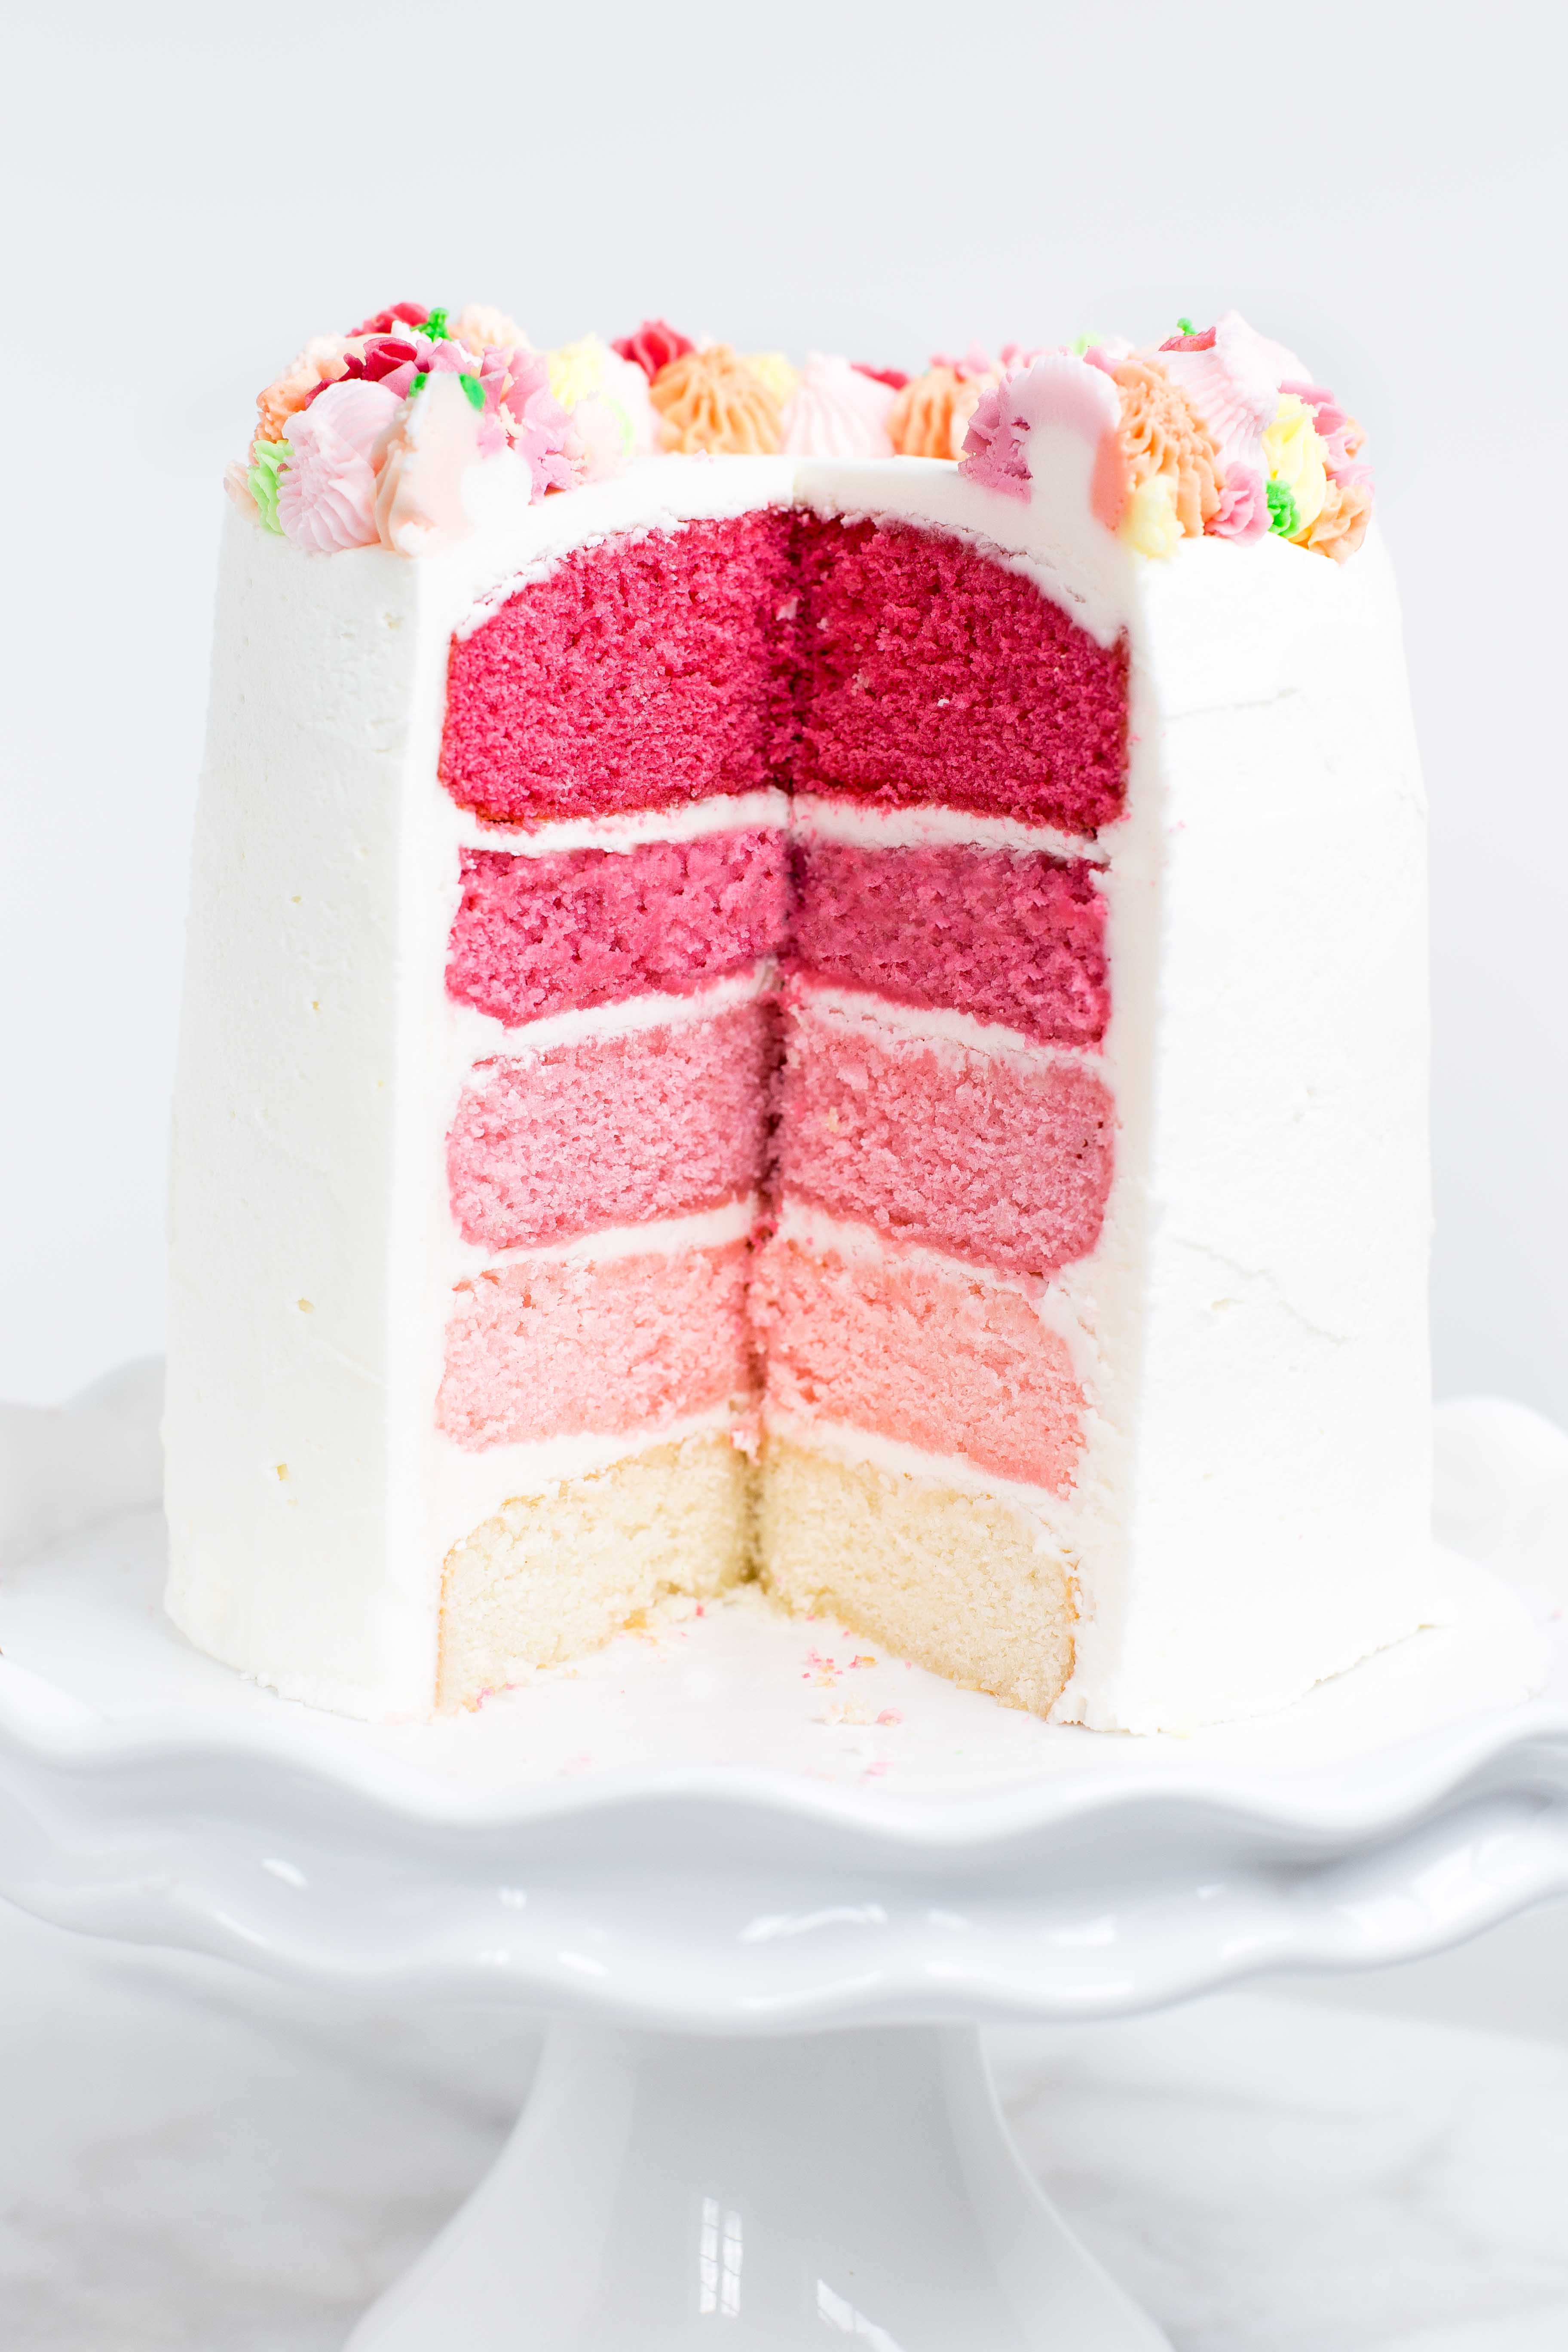
Not going to lie – I’m still obsessed with this cake. I made this Pink Ombre Cake for Vivian’s first birthday photo session to use as her smash cake. I originally saw this cake on I Am Baker – an amazing blog that if you haven’t seen you NEED to go right now. The minute I saw that cake, I knew I had to make it. Even if it was going to take me three days – and yes, it did actually take me THREE DAYS to get this Pink Ombre Cake done! But it was well worth it.
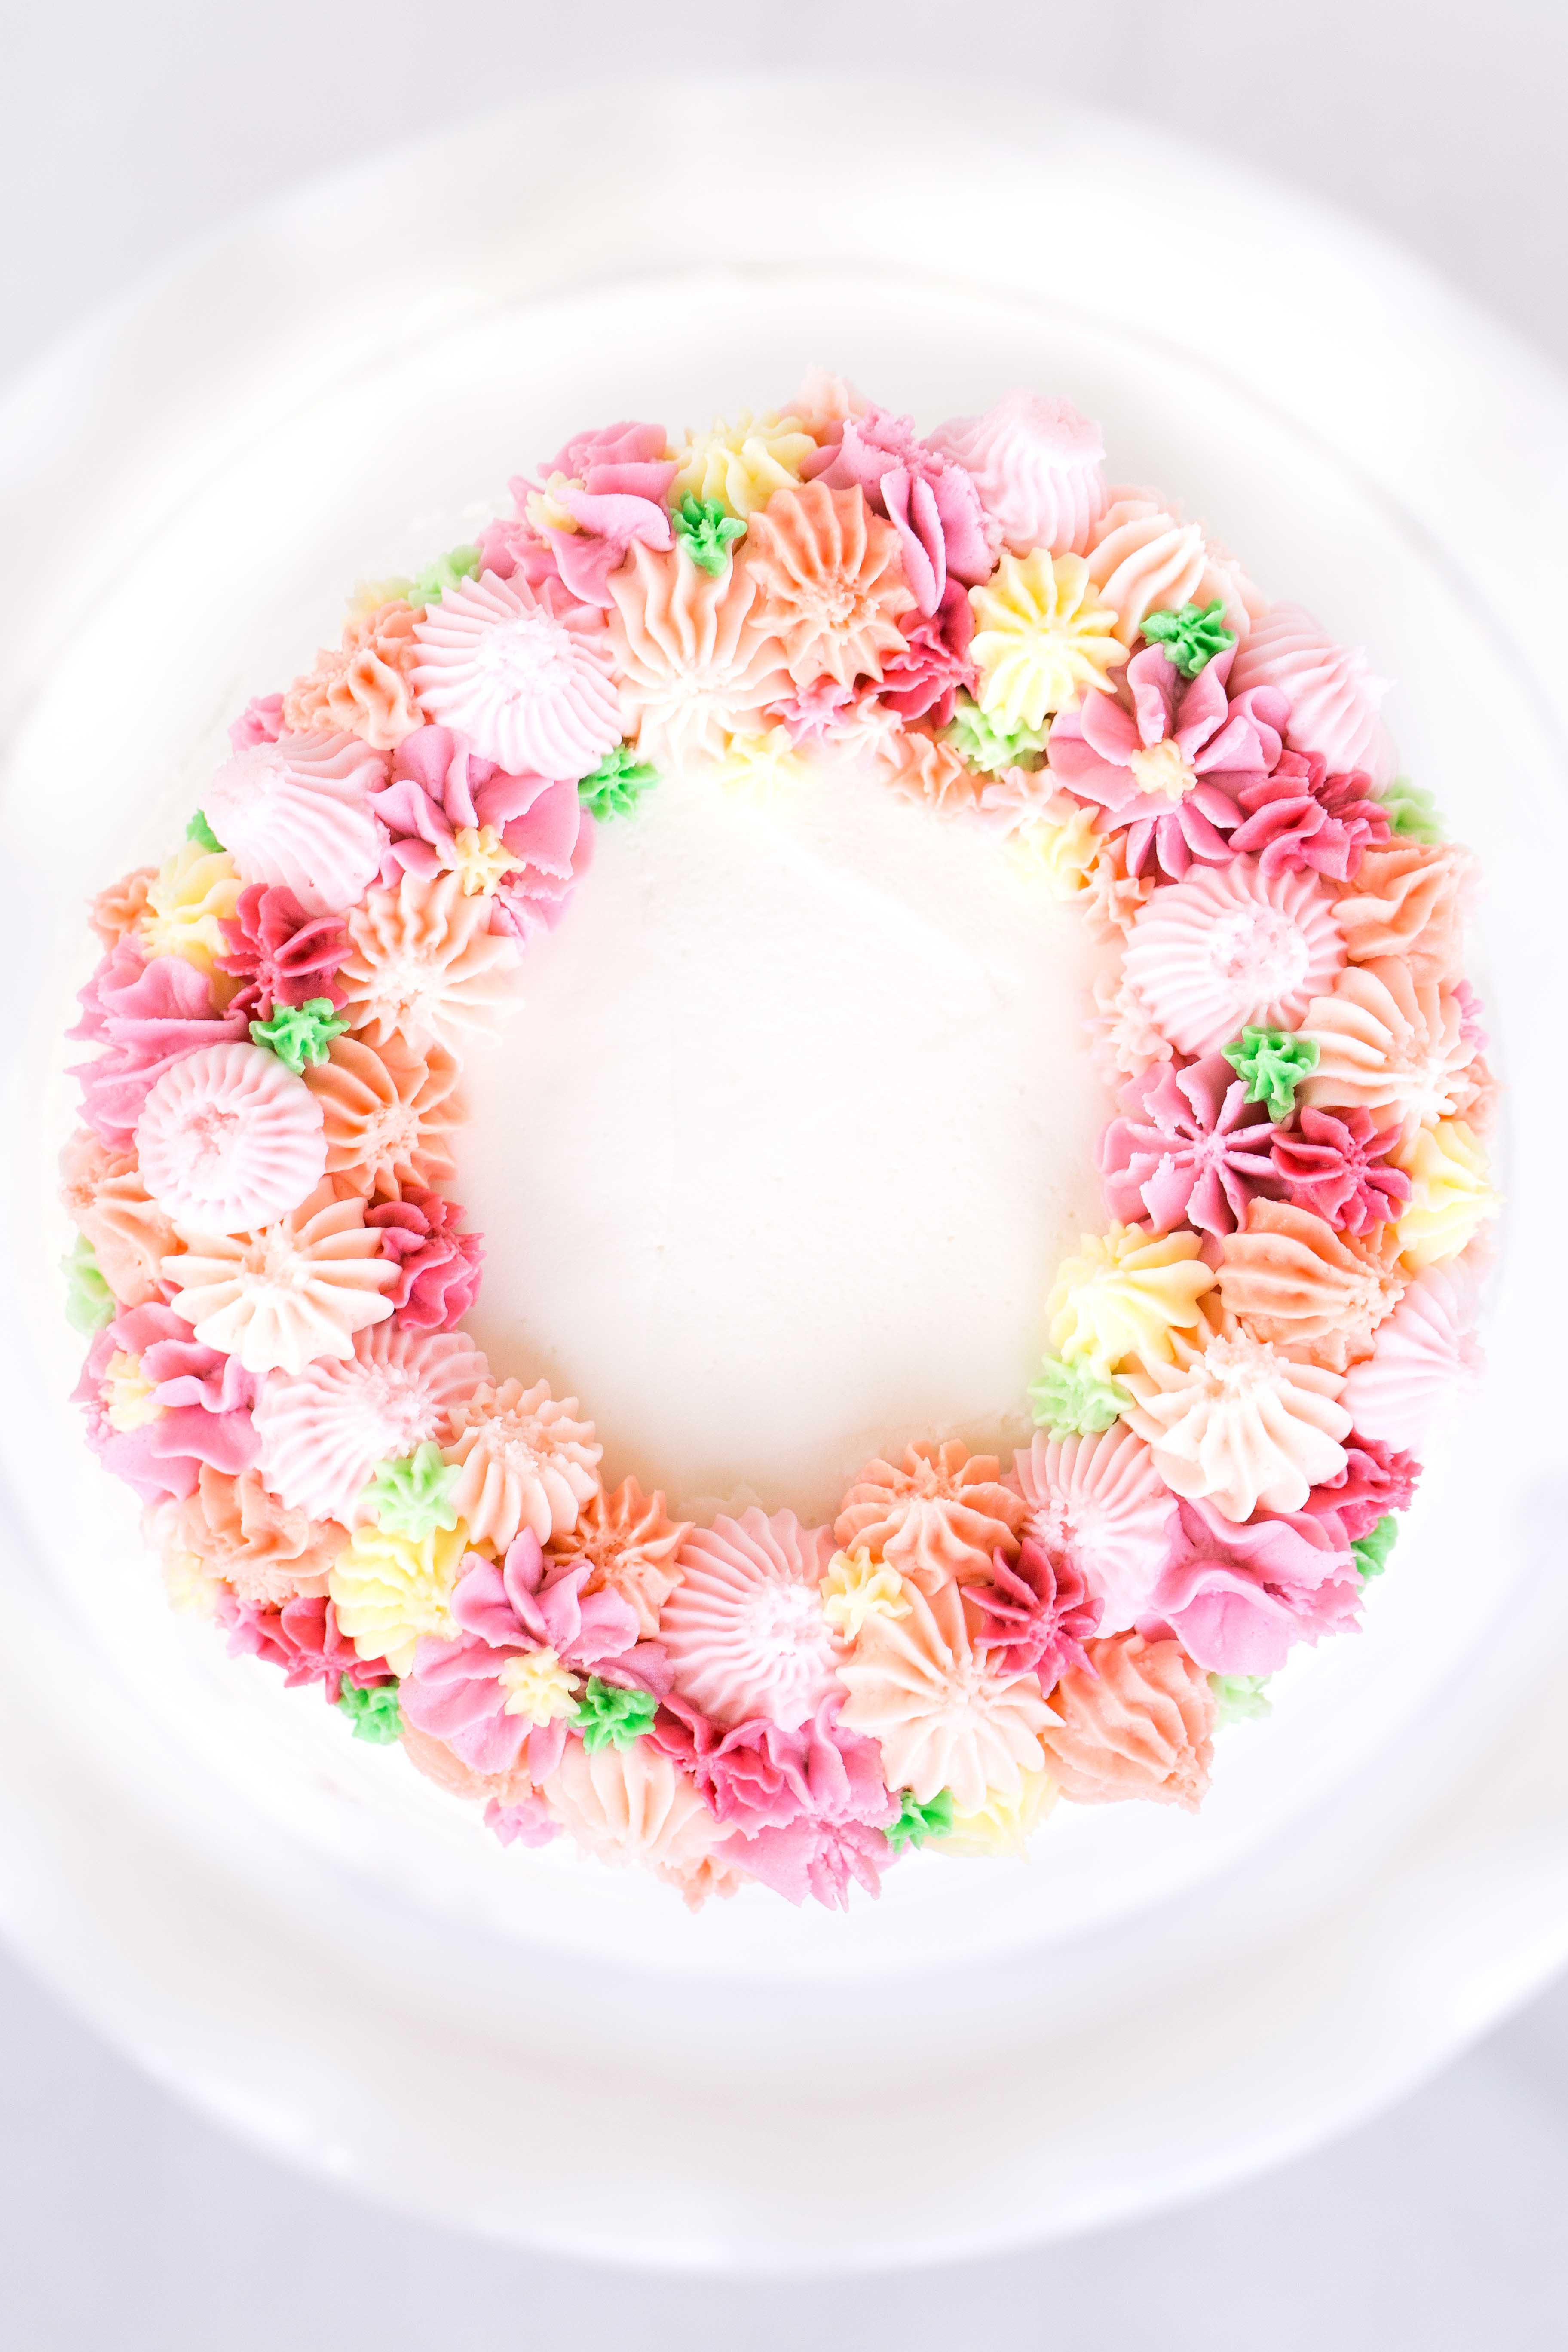
I started by making the 5 layers of cake, then individually wrapped them in plastic wrap and froze them (you could just refrigerate if you’re going to be assembling the next day). On day 2, I moved on to the frosting. SO MUCH FROSTING. I got to experiment with making lots of different colors, which was actually a lot fun to do. The last day was dedicated to assembling the cake and decorating! By far, the best part. This Pink Ombre Cake looks complicated and like you need a lot of cake decorating skill to pull it off, but IT’S NOT. You really just need a solid variation of tips and colors to pull this look off.
To get this look, you’ll need to purchase at least 4 of these tips (two larger ones and two smaller ones). I bought all of them but I don’t think you need to do that to get the same kind of look. I bought exactly what Amanda from I Am Baker recommended.
Decorator’s Tips: 16, 18, 22, 32, 172, 195, 2C, 4B, 8B, 9FT, 2C, 4B, 8B – found them ALL on Amazon.
If you’re really going to make this cake you’re going to want to check out Amanda’s video and her instructions for “double bagging” the frosting in the pastry bags because this really does make it SO MUCH EASIER. I had never done that until I made this cake and if you’re dealing with changing out tips and colors of frosting it will really save you so much time and energy.
OK – I’ve rambled on enough about this cake. By the way, it’s also delicious in addition to looking amazing and photographing really well! And no, I didn’t let her smash it all – she just got one piece 😉

Pink Ombre Cake
Ingredients:
WHITE CAKE
- 2 1/4 cups cake flour
- 1 cup whole milk, room temperature
- 6 large egg whites, room temperature
- 1 teaspoons almond extract
- 2 teaspoon vanilla extract
- 1 3/4 cups sugar
- 4 tsp baking powder
- 1 tsp salt
- 1 1/2 sticks unsalted butter, softened but still cool and cut into cubes
DECORATOR'S BUTTERCREAM
- 4 sticks unsalted butter, room temperature
- 1 cup shortening
- 2 tsp vanilla extract
- 12 cups confectioners sugar
- 1/2 cup whole milk
- 4 tsp meringue powder (found this on Amazon)
- 1 tsp salt
Directions:
WHITE CAKE
- Heat oven to 350°F and lightly spray a 6" cake pan with nonstick spray and then line the cake pan with a parchment paper round - then lightly spray with nonstic spray again. Set aside.
- In a medium bowl, mix the milk, egg whites, and extracts with a fork until blended.
- Mix cake flour, sugar, baking powder, and salt in bowl of electric mixer at slow speed. Add cubed butter, continue beating on low for about 1-2 minutes.
- Add all but 1/2 cup of milk mixture to flour mixture and beat at medium speed for 1 1/2 minutes.
- Add remaining 1/2 cup of milk mixture and beat for about 1 minute.
- Divide batter evenly between 5 bowls.
- Now mix your desired cake layer colors. I used McCormick Food Coloring and used this color chart as a guide.
- Bake in the prepped 6" baking pan until a toothpick inserted in the center comes out clean, 20 to 23 minutes. I only had one 6" pan so, yes, I had to bake each layer individually - you can save time if you have more pans!
DECORATOR'S BUTTERCREAM
- In a stand mixer with the paddle attachment, cream shortening and butter on medium-high until fully combined and fluffy, about 3 minutes.
- With mixer on low speed, add vanilla extract and salt.
- Slowly add confectioners sugar, one cup at a time.
- Add meringue powder.
- Next, add in milk. Turn the mixer up to medium-high (or high) and beat until light and fluffy (approximately 5-8 minutes).
- You may need to add more milk to reach your desired consistency. Start with the 1/4 cup and if the buttercream is still too dry, add in more milk 1 tbsp at a time until you reach the desired consistency. Make sure the mixer is on low speed when adding in milk and give it at least 30 seconds in between each addition.
- Set about 1/2 of the frosting aside to fill the cake and frost the outside white. Next, divide the remaining frosting into as many colors as you want on the cake. Using the same McCormick color chart, mix your frosting colors accordingly.
Cake recipe adapted from I Am Baker, originally adapted from Epicurious and Cooks Illustrated. Decorator's Buttercream adapted from I Am Baker.


